Watch the Free Masterclass
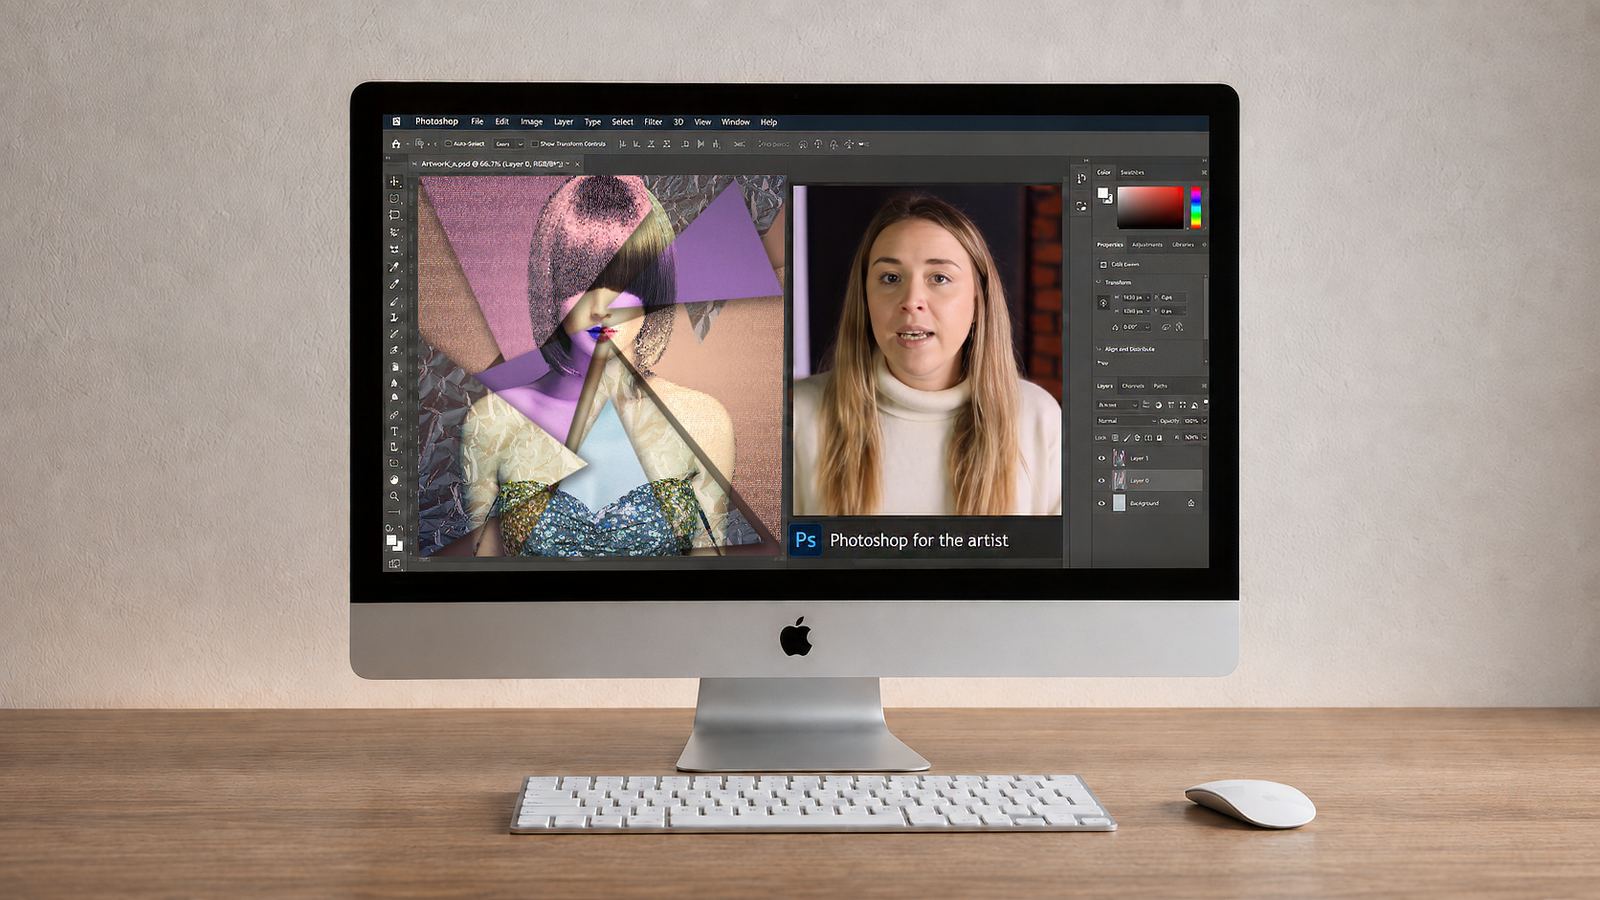
A lesson from Photoshop for the Artist on screen

Photoshop for the Artist

There are ten thousand Photoshop courses. This one is built for the photographic artist.

Taught by Samantha Lee Osner, and written around the techniques taught on Martin Osner's Getting Started in Art Photography. Almost every lesson is an extension of one idea: the camera is one of the instruments on the workbench, and in digital photography today Photoshop is another, and a vital one.

Short lessons, at your own pace, on a Mac or a PC.

Why this one

The tutorials are not the problem. The order is.

You can find a free video on layer masks in about four seconds. What you cannot find is somebody teaching you layer masks because you are about to lay a nitro transfer over the original, or hand paint a black and white print, or build a mirror montage.

This is that course. In order, taught by somebody who does this work every day, an established exhibiting artist, with every lesson a gem you can use immediately.

David Schlosser talks about exactly this in his interview

How this course works hand in hand with the art photography class

Getting Started in Art Photography is primarily a hand technique course, where craft is taught in order to make artwork. Martin does introduce Photoshop workflow along the way, because some techniques have to begin on a screen and some have to be finished there, and he shows where a technique made by hand could also be made in a similar way digitally. This course is the extension of that. Samantha takes those instructions, rolls them out, expands them and teaches them properly. If you are on the art photography course and your Photoshop feels jaded, this is the place.

Disclaimer

What this course is not

This is not a structured step by step manual on how to operate Photoshop. It is how to use Photoshop to reach a particular look and a particular feel. It does start right at the beginning though, with the difference between Bridge, Camera Raw and Photoshop, because that understanding has to be in place before any of the techniques make sense.

Start here, free

The foundation that most people coming into digital photography and Photoshop are missing

The single biggest stumbling block we see is not a tool, it is the software itself. What a raw file actually is and how it differs from a jpeg. What a data file is and what a pixel file is. Why that changes everything you do afterwards.

Martin has a film that explains it plainly, and it is free. The first lessons of this course cover the same ground properly, setting up and working with Bridge, Adobe Camera Raw and Photoshop, because that is the Achilles heel for a great many of our own students.

Watch the film without giving us anything. The in depth transcript comes by email if you want to keep it.

Martin Osner explaining raw files, jpegs, data and pixels

Watch first: what a raw file really is, and why it matters

The shape of it

Four modules, taken in order

It starts with where your files live and ends with the techniques that turn a photograph into a piece of art. Nothing is assumed.

Module one

Adobe Bridge

Where the files live. How to categorise, tag and find a photograph months later without hunting through folders. Dull, and the reason everything after it stays calm.

Module two

Adobe Camera Raw

Exposure, colour and the overall quality of the file, settled before it ever reaches Photoshop. Most of what people try to rescue in Photoshop should have been done here.

Module three

The Photoshop workbench

Selections, layers, masks and blending modes. The four things everything else is built on, taught in the order you will actually meet them.

Module four

The artistic techniques

The part nobody else teaches. Every lesson here exists because one of the art photography techniques needs it.

Every lesson

Twenty two lessons, none of them long

Short, single subject tutorials. You watch the one you need, when you need it, and you come back to it later when you have forgotten.

Adobe Bridge

  • The basics of Adobe Bridge
  • Bridge file organising

Camera Raw

  • Adobe Camera Raw
  • Advanced Camera Raw mask filters
  • Dodge and burn in Photoshop and Adobe Raw
  • Exploring Exposure X7

The Photoshop workbench

  • Layer masks
  • Image and canvas sizing
  • Blending layers
  • Cloning and healing
  • Selective tools
  • Transformation tools
  • Cropping against free transform
  • Adding text
  • Content aware fill
  • Sky replacement

The artistic techniques

  • Create an art impression with overlays
  • Hand painting a black and white image
  • Adding a polaroid border
  • Solarisation
  • Nitro transfer, preparing for print
  • Nitro transfer, overlaying with the original
  • Digital montage
  • Mirror montage
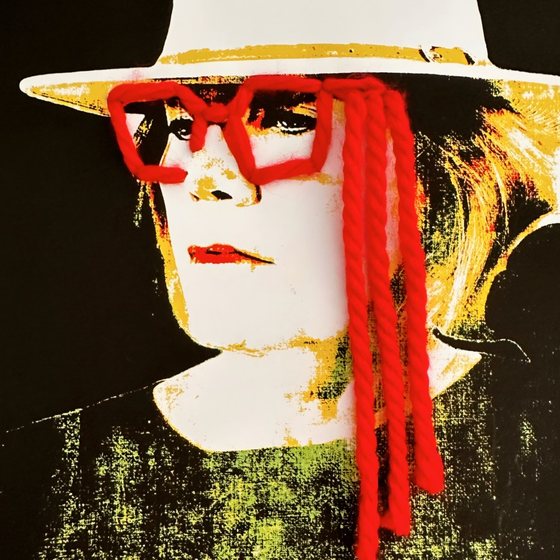
  • Pop art effect

The part nobody else teaches

These lessons exist because a technique needs them

This is the difference between a Photoshop course and this Photoshop course. Each of these was built to serve a specific technique on a specific art photography course.

SolarisationGetting Started in Art Photography
Hand painting a black and white imageGetting Started in Art Photography
Nitro transfer, preparing for printGetting Started in Art Photography
Digital montageGoing Further in Art Photography
Mirror montageGoing Further in Art Photography
Create an art impression with overlaysGoing Further in Art Photography
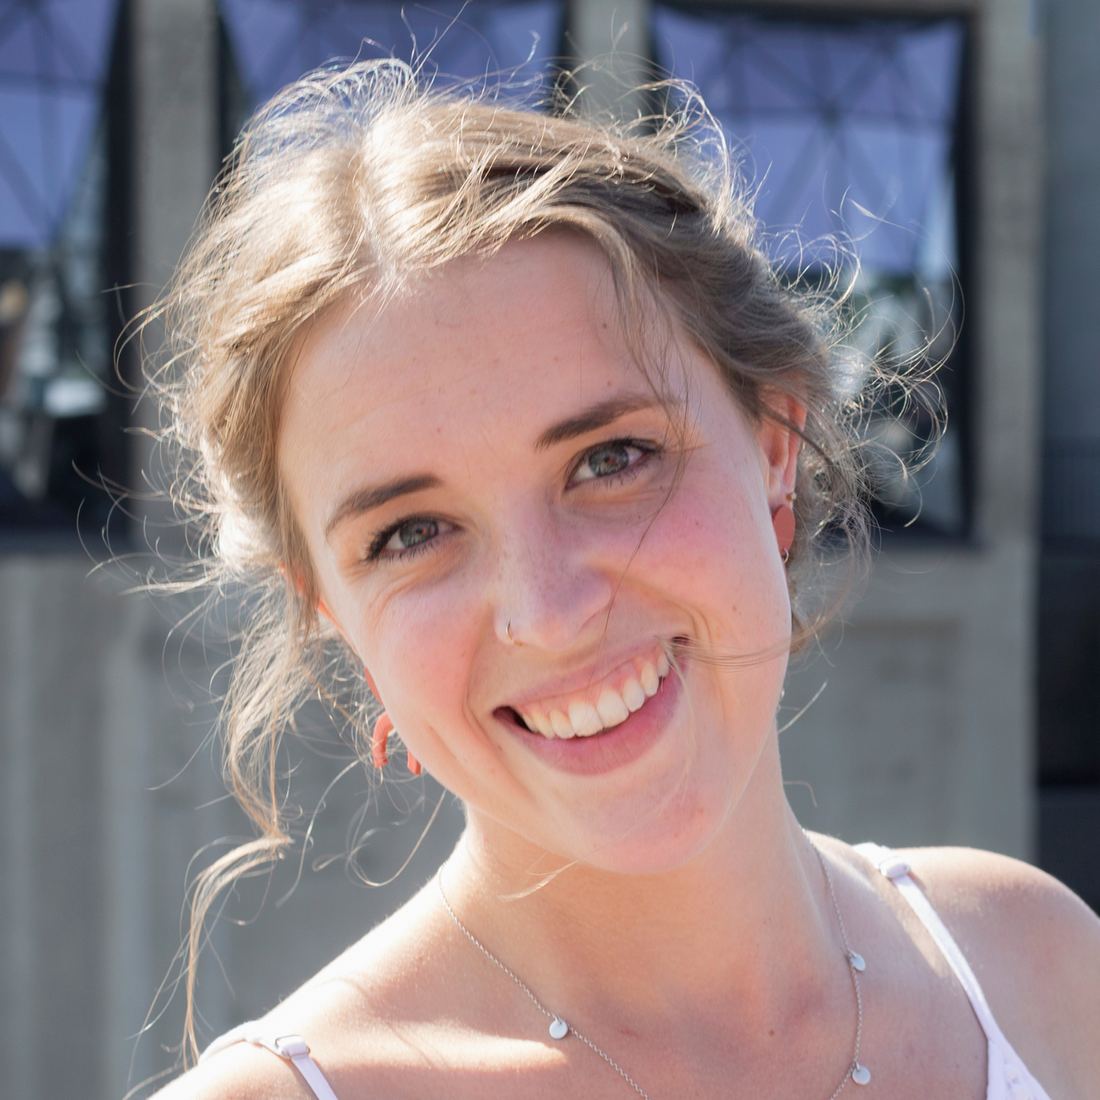
Samantha Lee Osner

Who teaches it

This one is Samantha's

Samantha Lee Osner is a fine art photographic artist in her own right, exhibiting and selling her work, and she is the one who does the digital side of the Academy's own work. She built this course because she watched too many capable photographers stall at the same wall.

Both of the people quoted below came to her frightened of Photoshop. Neither of them is now.

What her students say

“The idea of Photoshop scared me to the bone.”

Mark Daitz, before he started with Samantha. Both accounts are worth reading in full.

Lesley Spiegel

“Extremely talented, knowledgeable and experienced, is how I would describe Sam. With patience, she guides you through the various techniques towards your visual goal. If concepts elude you or are too complex, Sam works with you to develop an idea and find solutions to achieve your desired outcome. My time spent with her is always productive and she is always eager to assist, even if it means repeating a Photoshop step over and over.”

Lesley Spiegel

Vancouver, Canada

Mark Daitz

“I had learnt to take photographs to a certain level, some quite nice, but none processed. I realised I had to learn to process if I wanted to engage with this wonderful medium, however the idea of Photoshop scared me to the bone. Enter Samantha Osner. To say a teacher is too bland. Samantha has the knowledge and the patience, but most of all she is passionate about what she does, and that with an eye for the finished image makes her a truly great teacher. My Thursday afternoon lessons have become the highlight of my week.”

Mark Daitz

Cape Town, South Africa

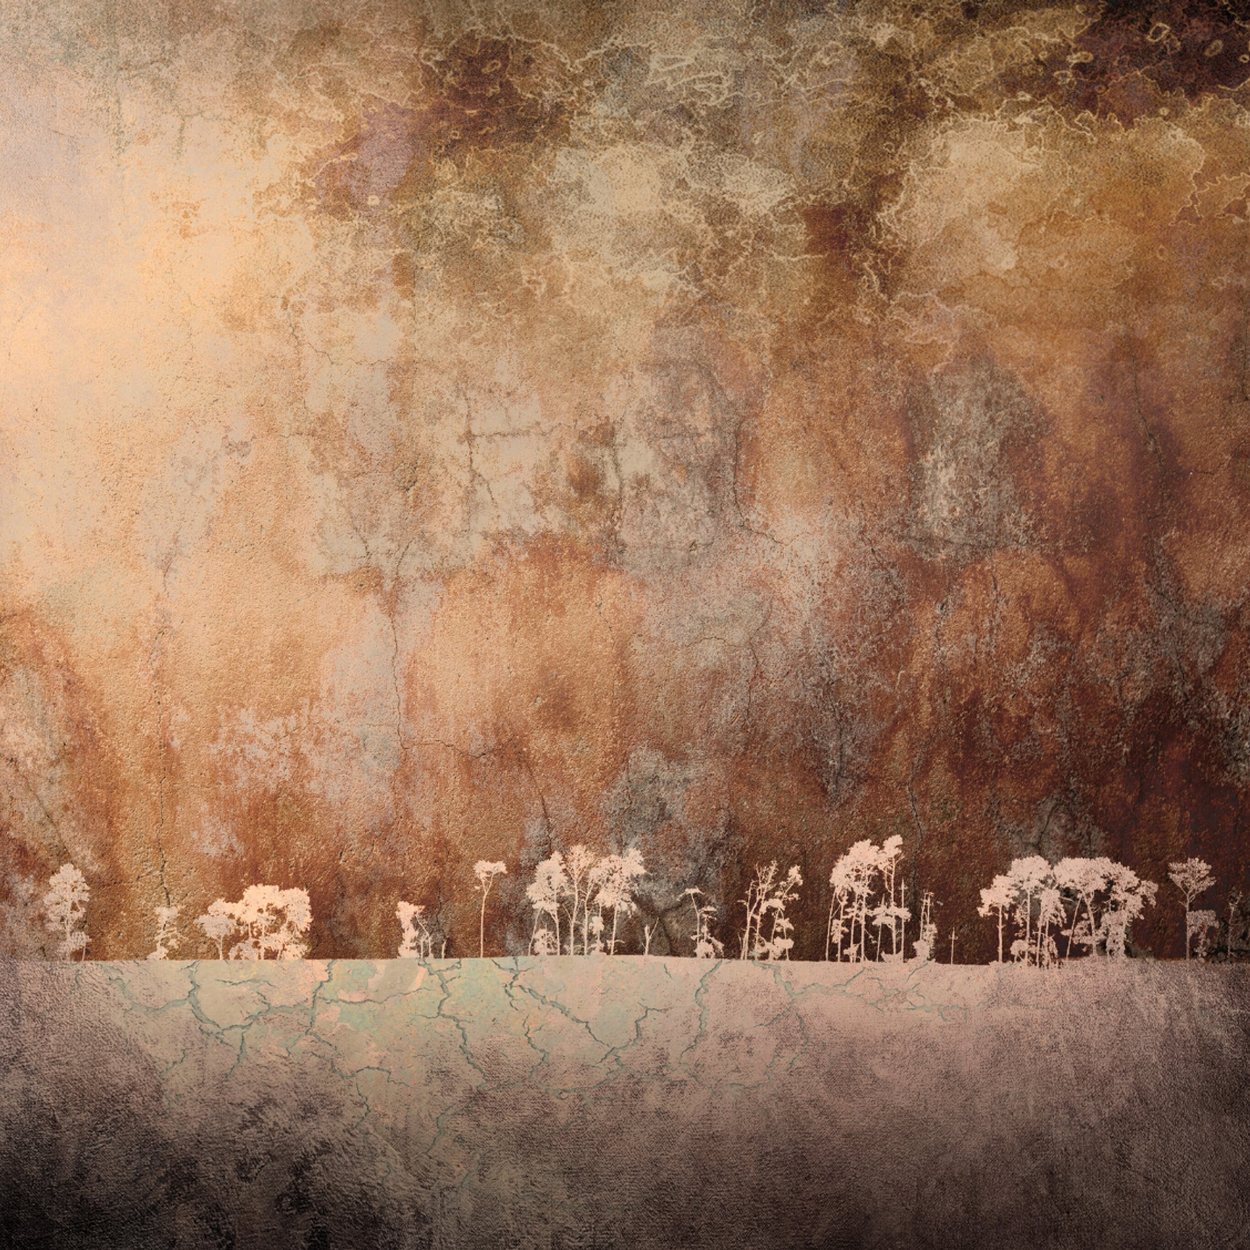
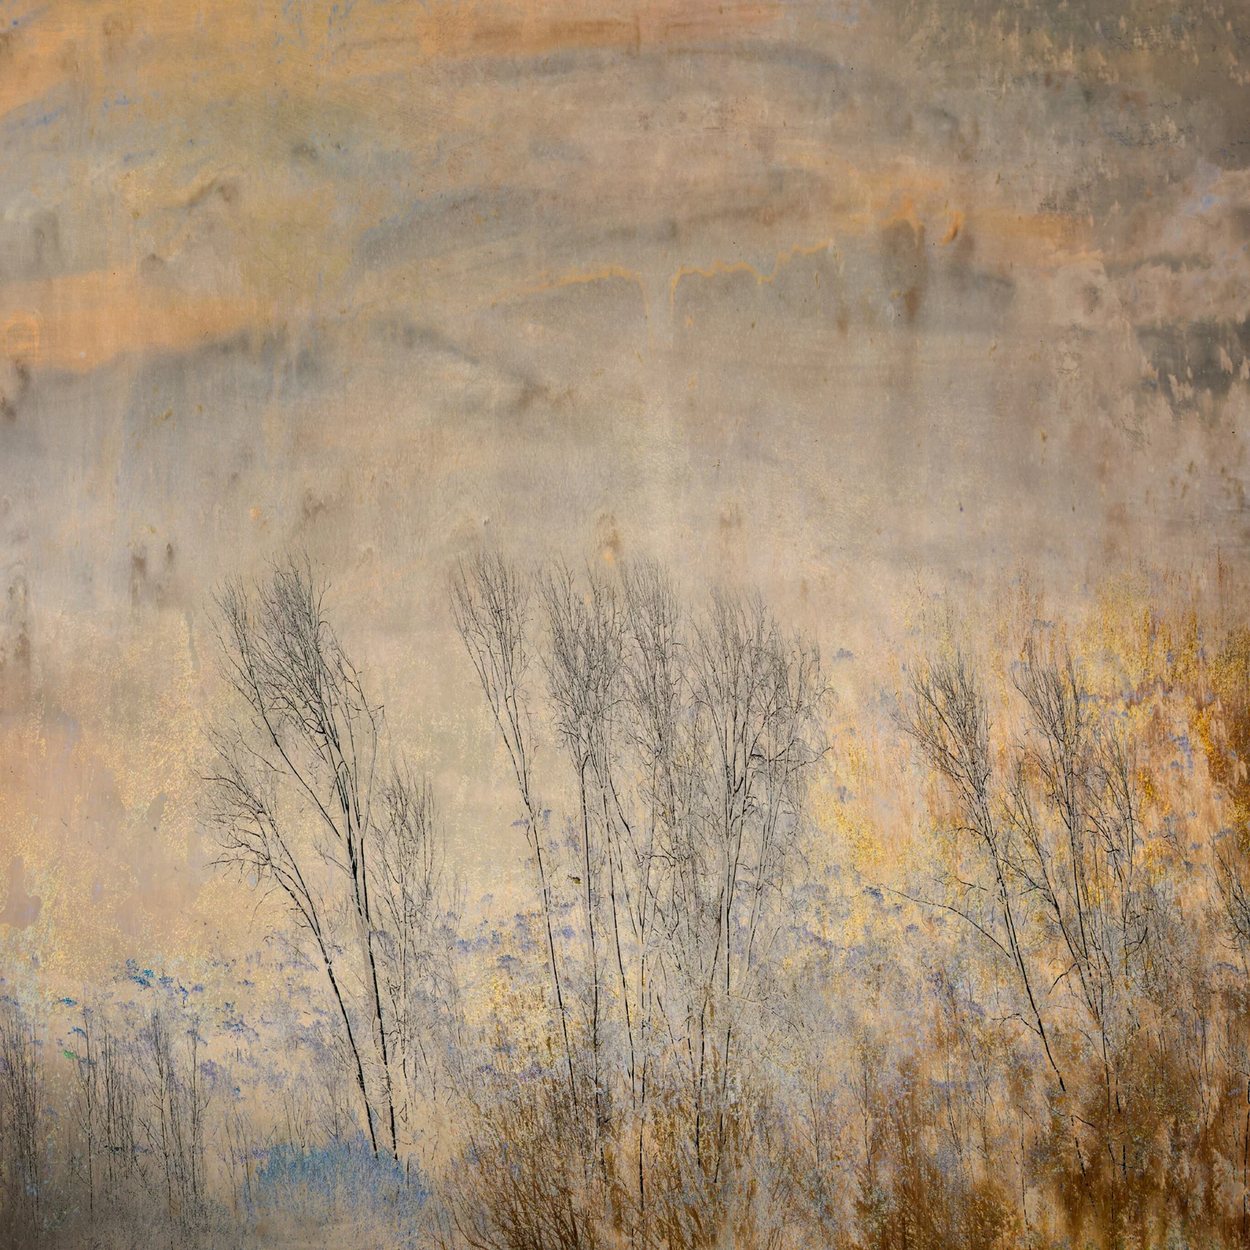
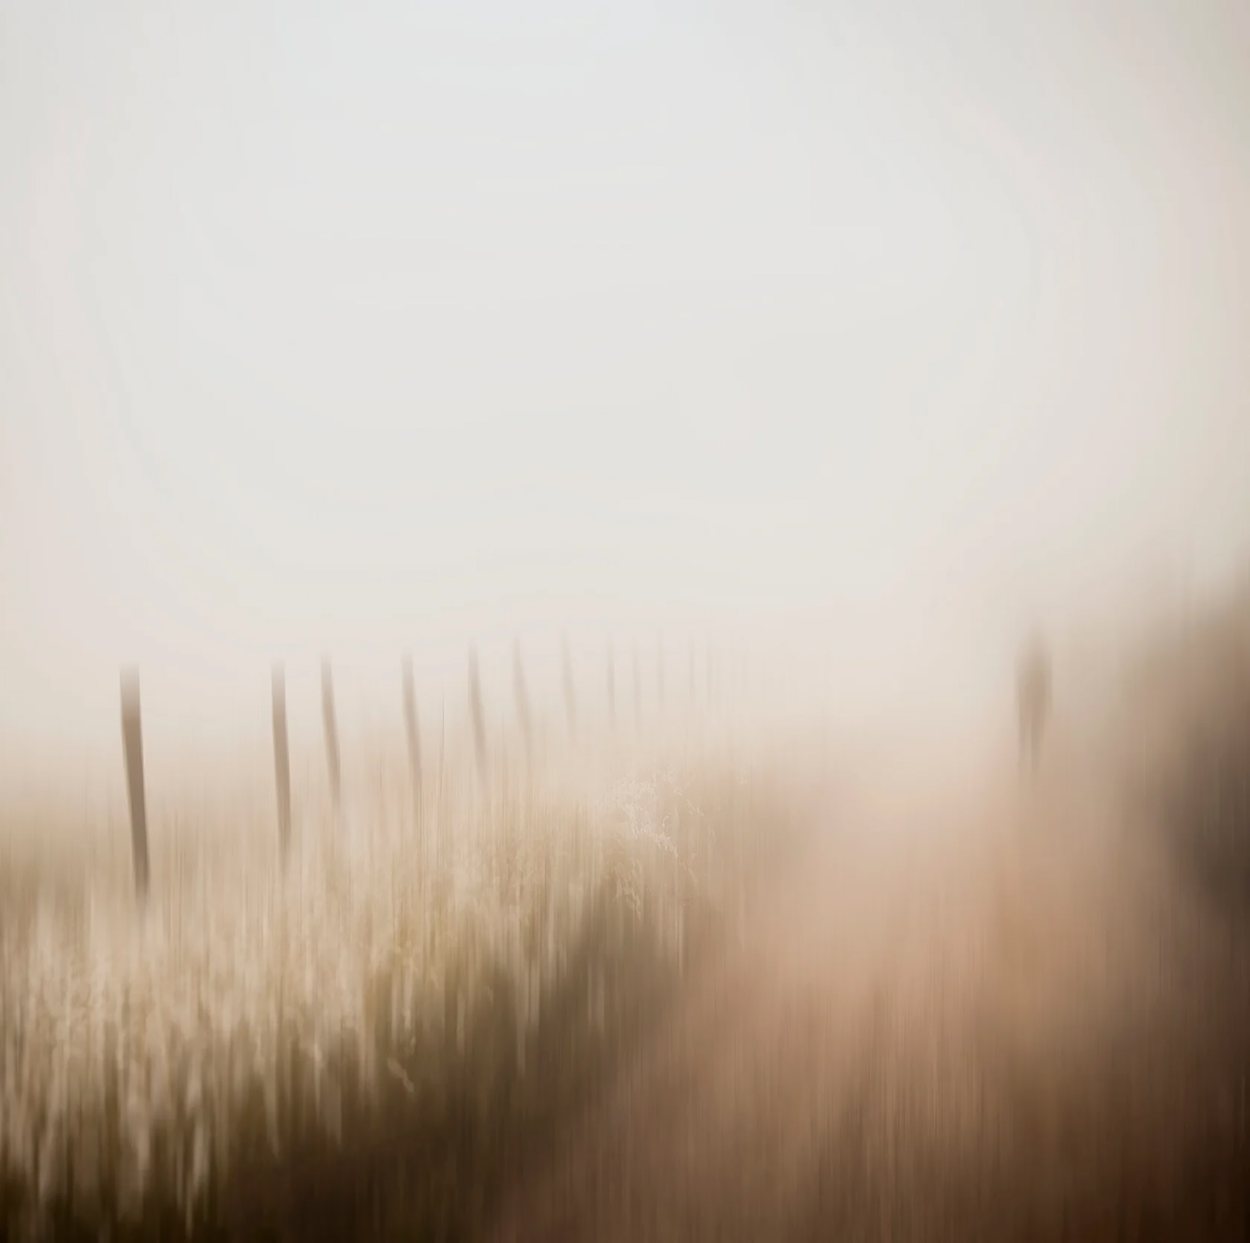
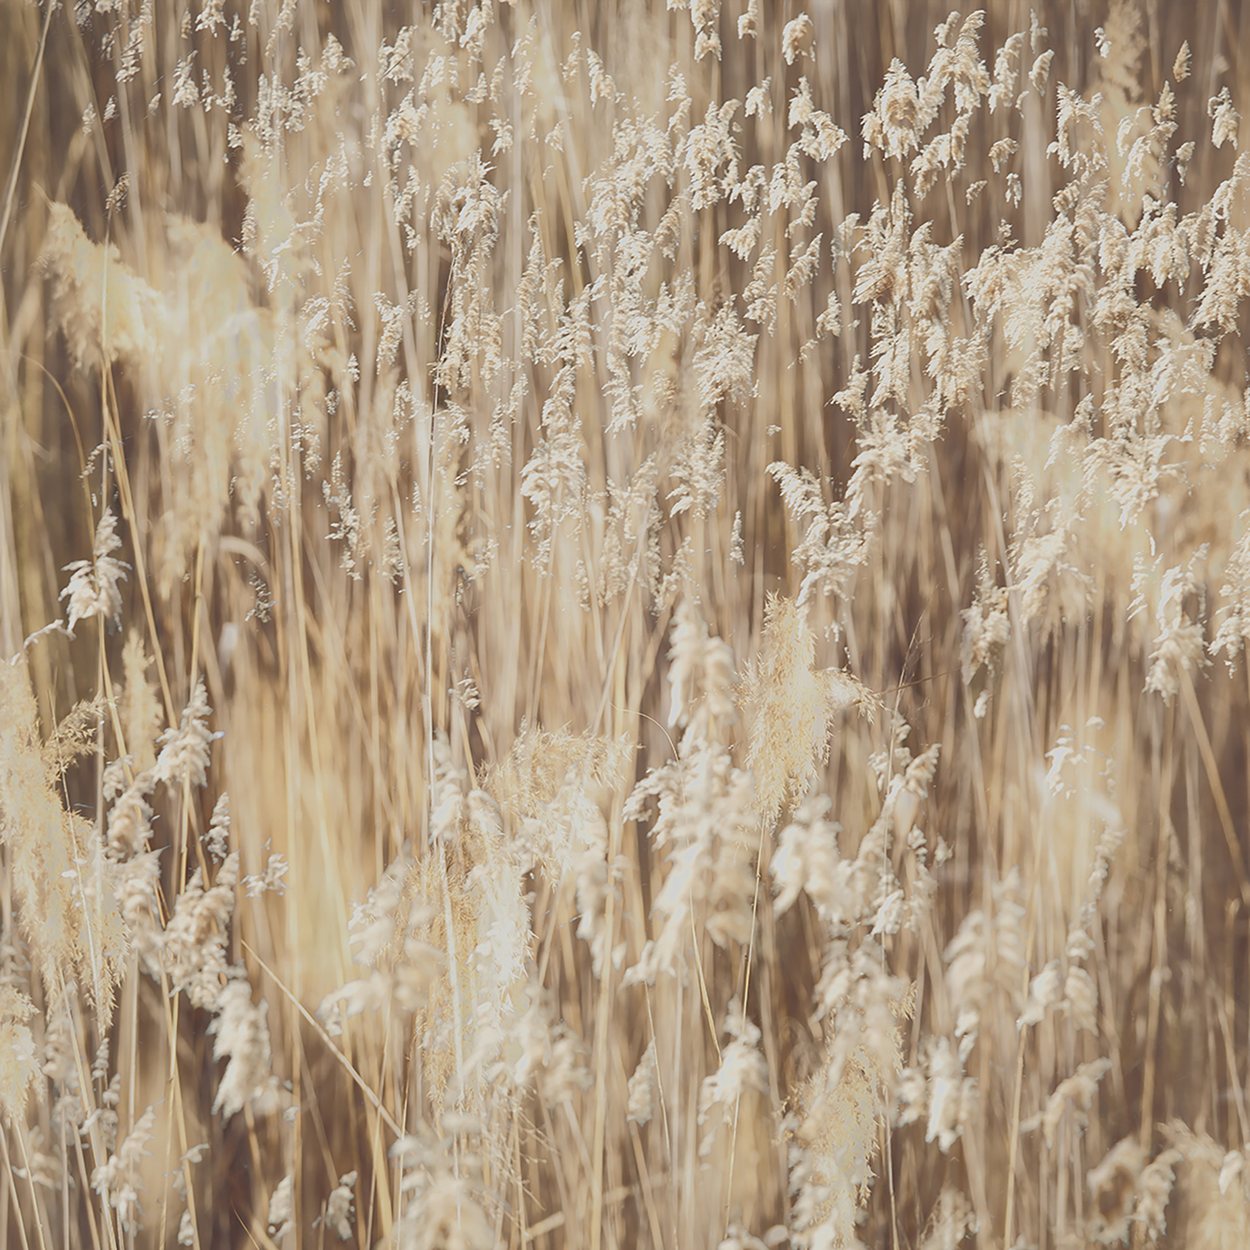
Made with these techniques

Nine of Samantha's own pieces

Every one of these was made with a technique taught in this course, and the caption tells you which. Click any piece to see the full composition.

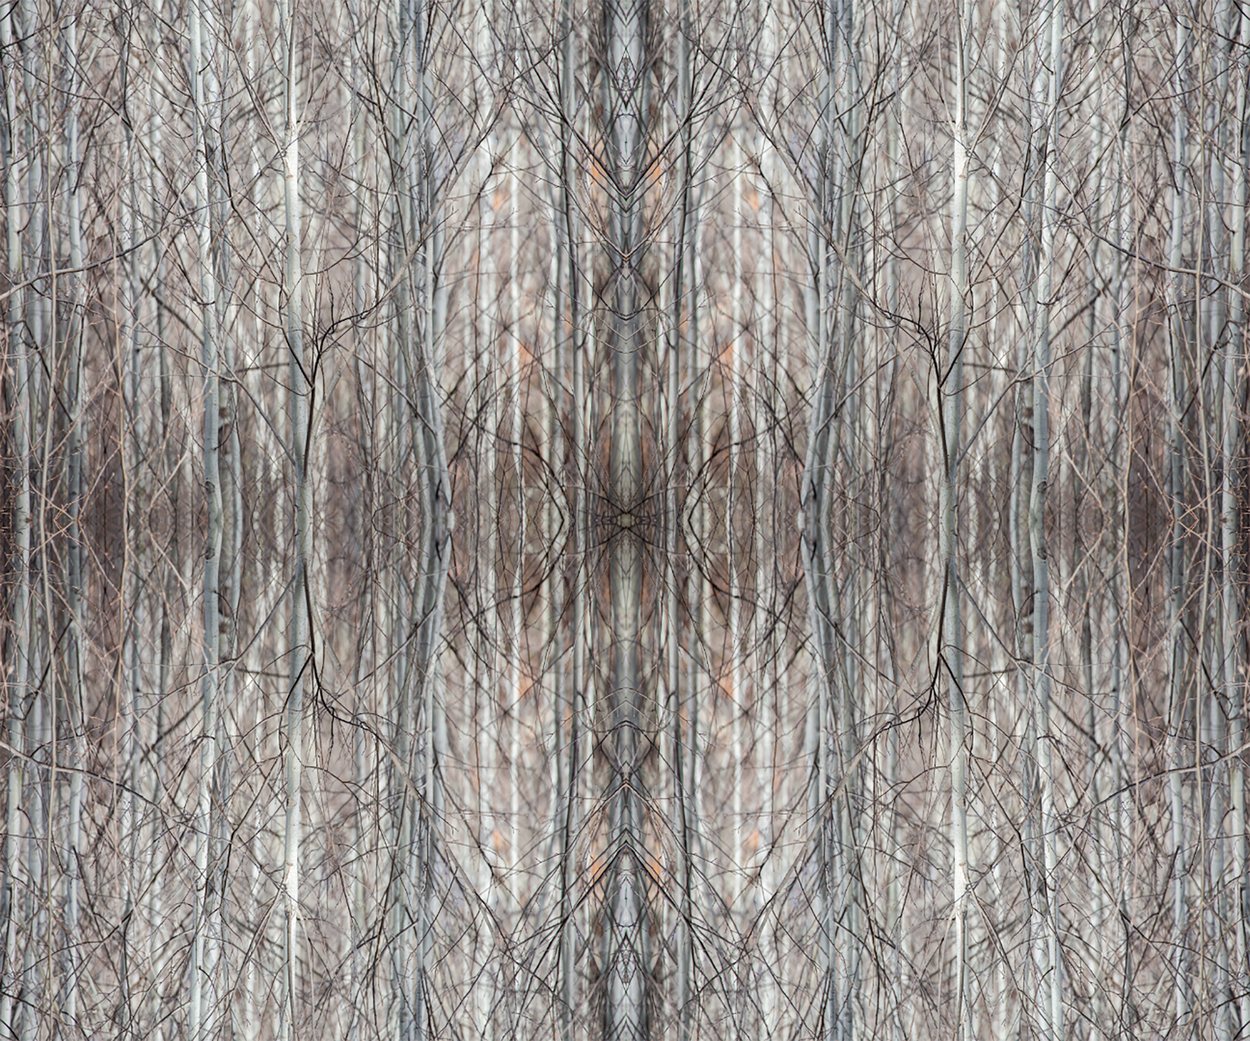
Forest Reflections, by Samantha Lee Osner
Forest ReflectionsA digital mirror montage, made in Photoshop from a single photograph of forest trees.
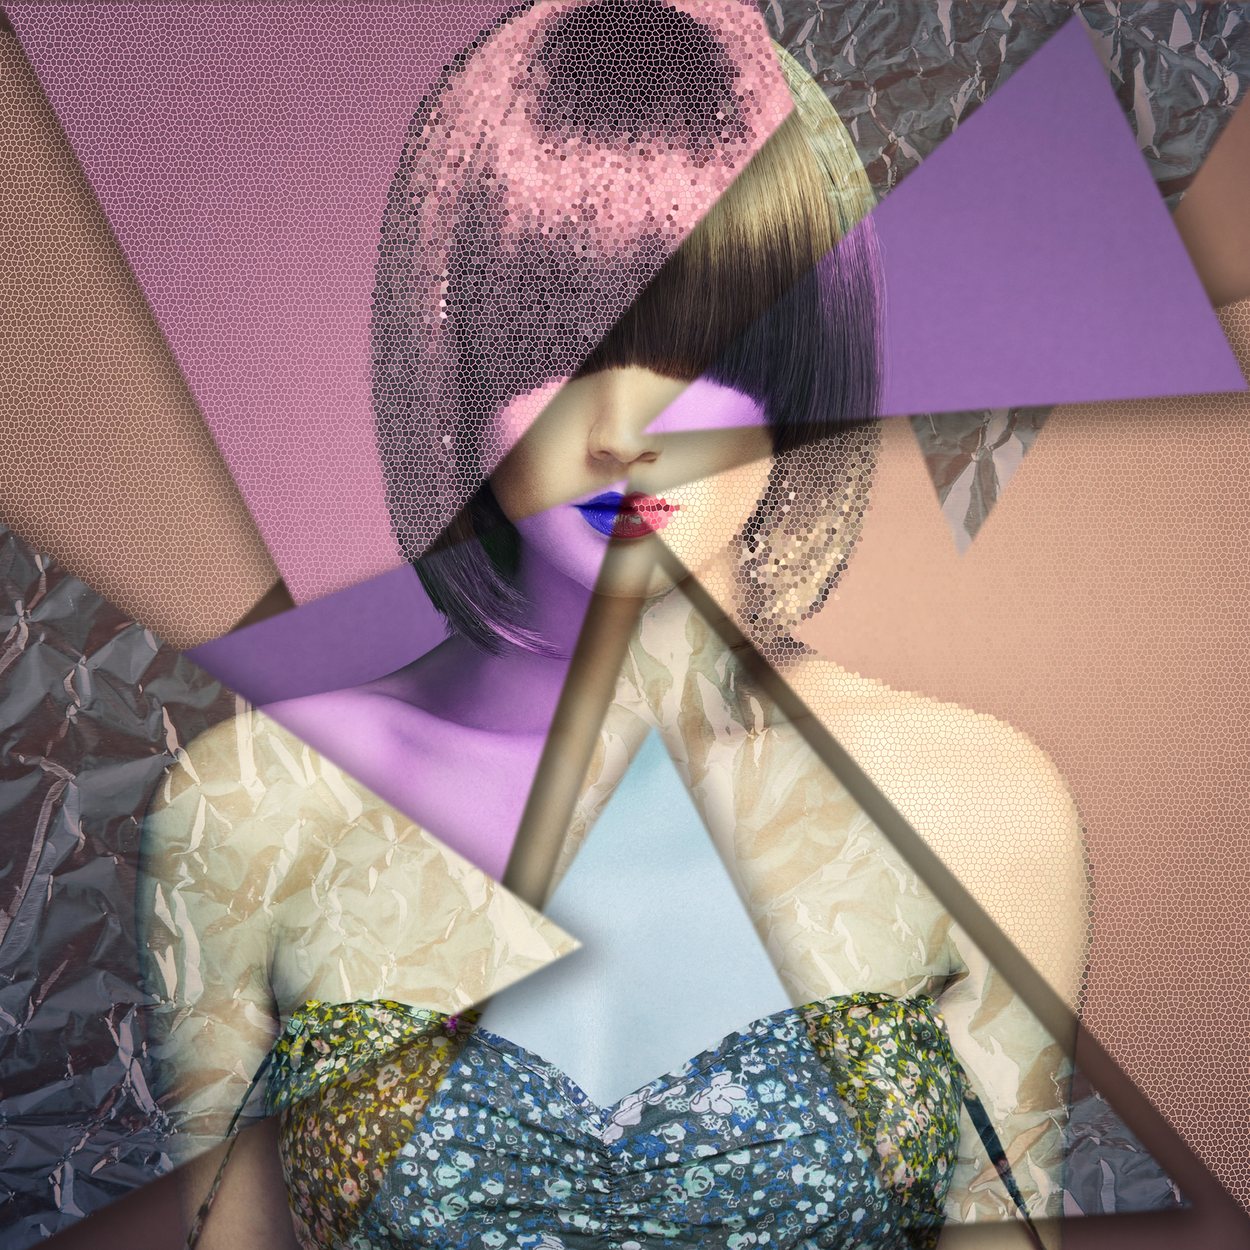
Fragmented Beauty, by Samantha Lee Osner
Fragmented BeautyA digital montage from a single portrait. Each section carries a different effect and is then montaged back onto the original.
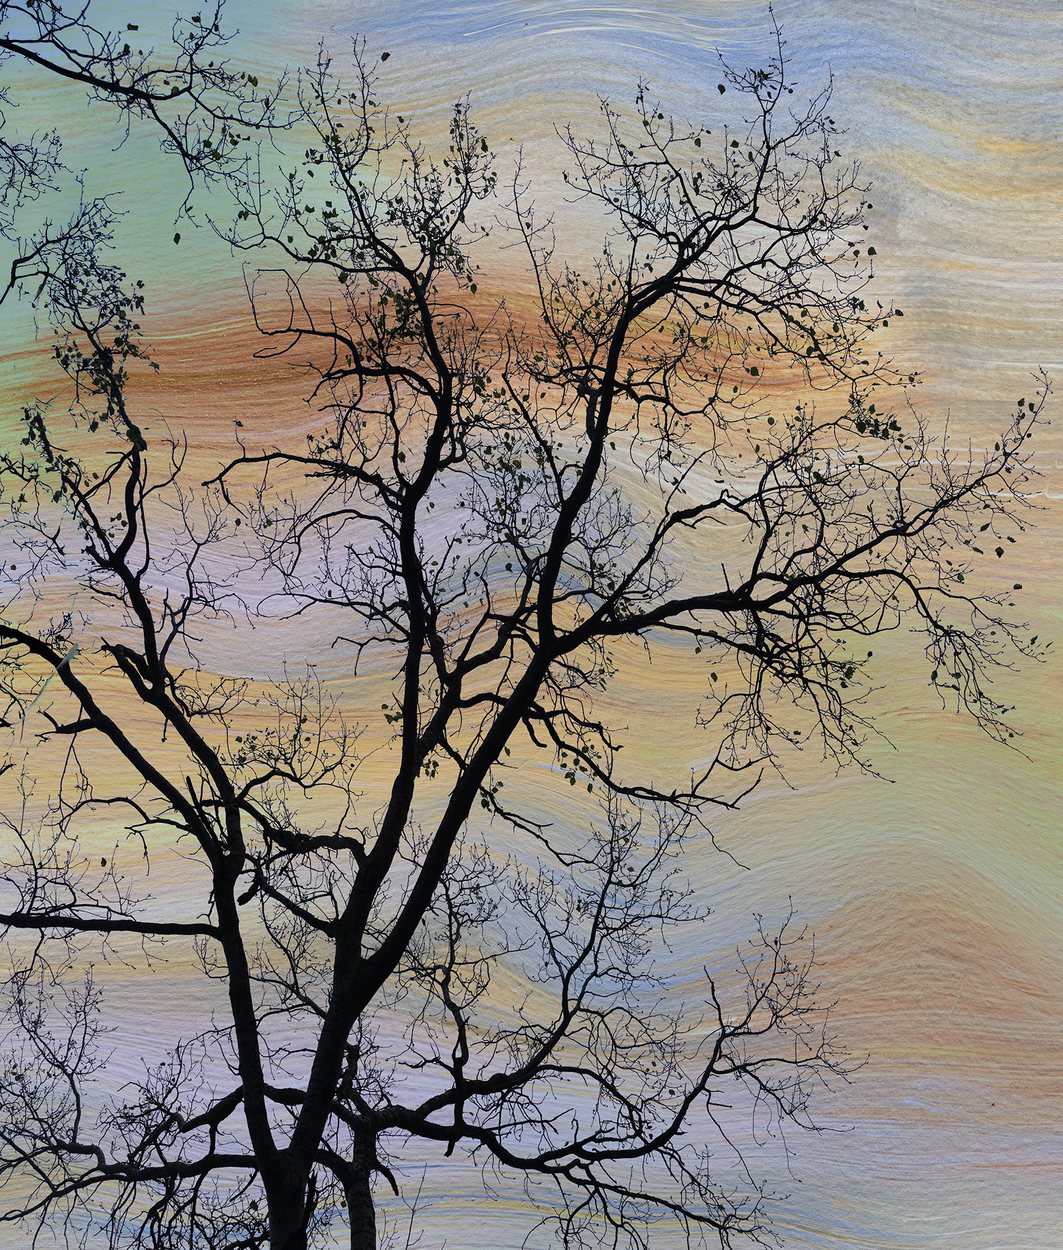
Painted Sky, by Samantha Lee Osner
Painted SkyA photograph blended onto a painted background. Learning to work in layers is where the real possibilities in Photoshop begin.
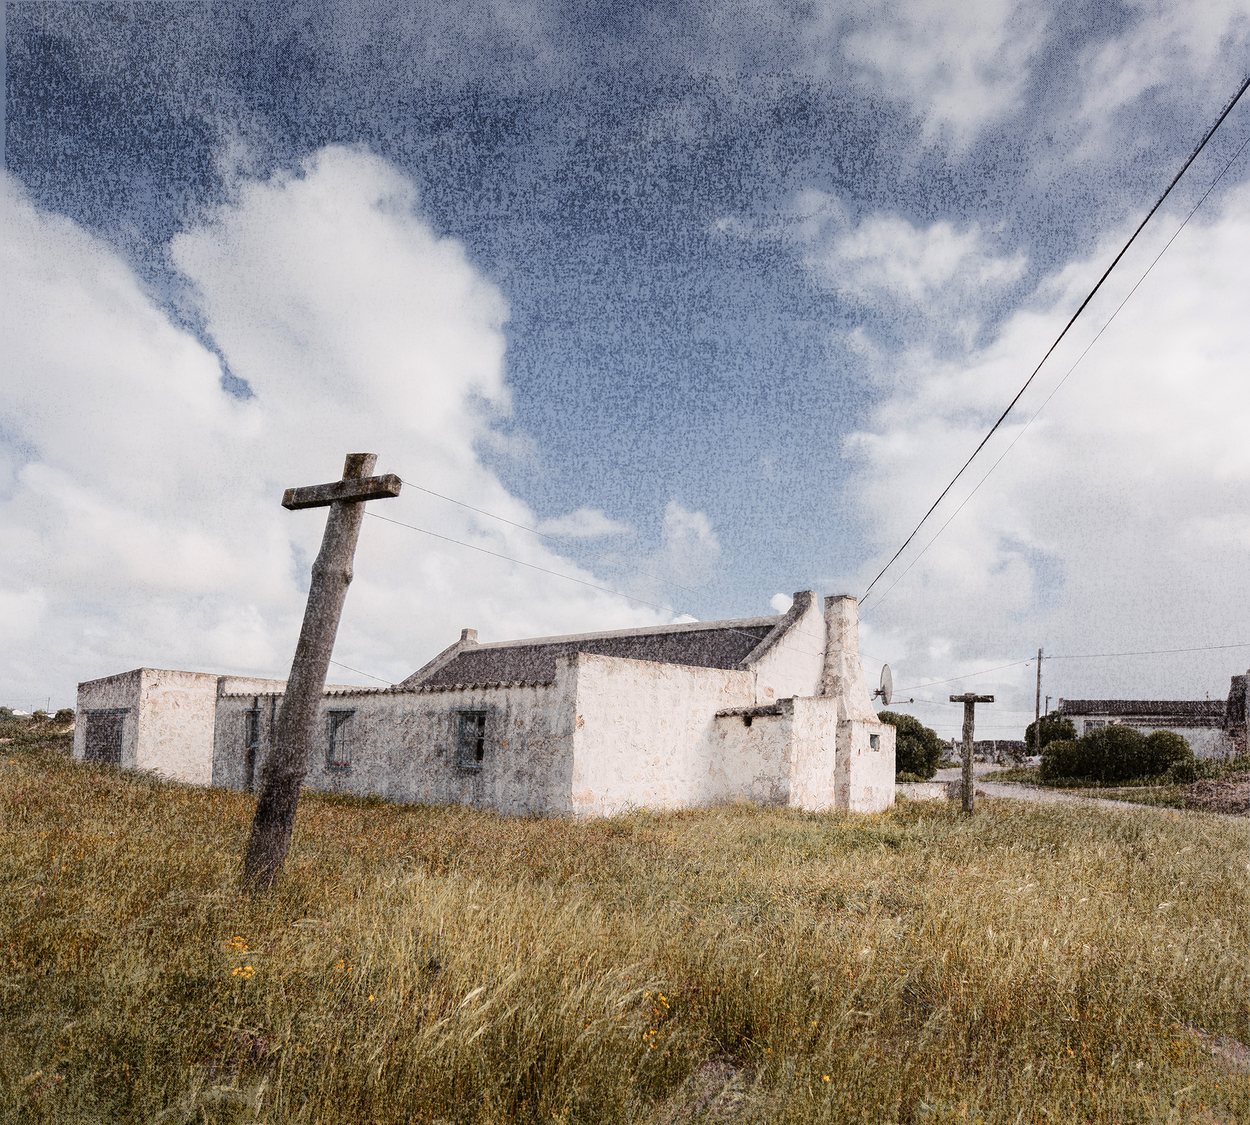
Quiet Homestead, by Samantha Lee Osner
Quiet HomesteadTwo techniques blended together. An art impression overlay combined with a nitro transfer, which is a hand technique you learn on Getting Started in Art Photography.
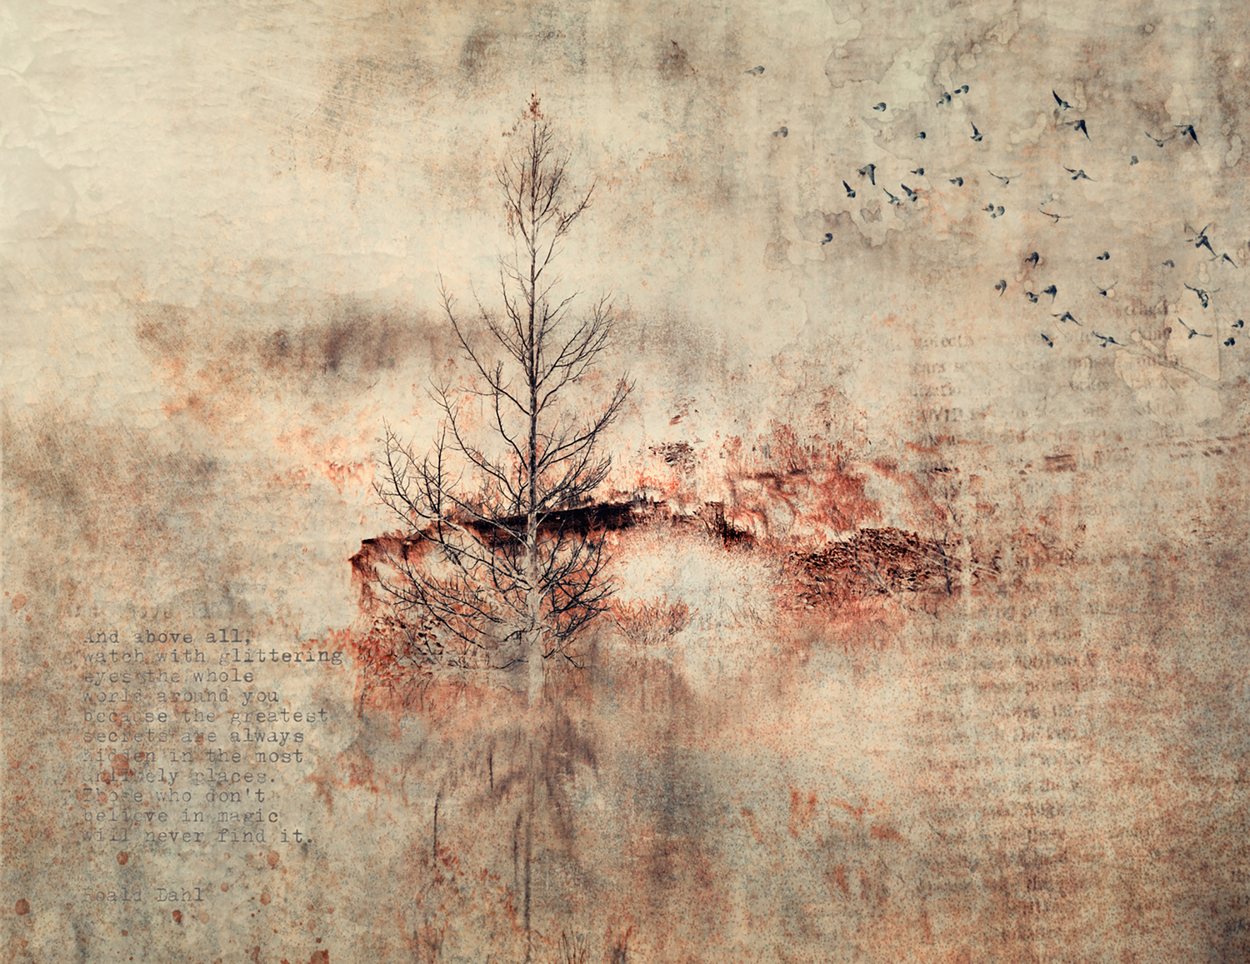
Memoir No.1, by Samantha Lee Osner
Memoir No.1This one began as a black powder transfer, which brought in the text and the grunge, and was then built up from there in layers in Photoshop.
Beau Nexus No.3, by Samantha Lee Osner
Beau Nexus No.3A photograph blended with textured layers, then inverted, with elements of solarisation.
Pastel Impressions No.1, by Samantha Lee Osner
Pastel Impressions No.1Textured layers blended with the photograph in Photoshop.
Countryside Phantasy, by Samantha Lee Osner
Countryside PhantasyIntentional camera movement, brought to completion in Photoshop with filters and solarisation.
Pastures of Splendour No.4, by Samantha Lee Osner
Pastures of Splendour No.4Light refinement in Photoshop from the original, with hints of solarisation in the highlight control.
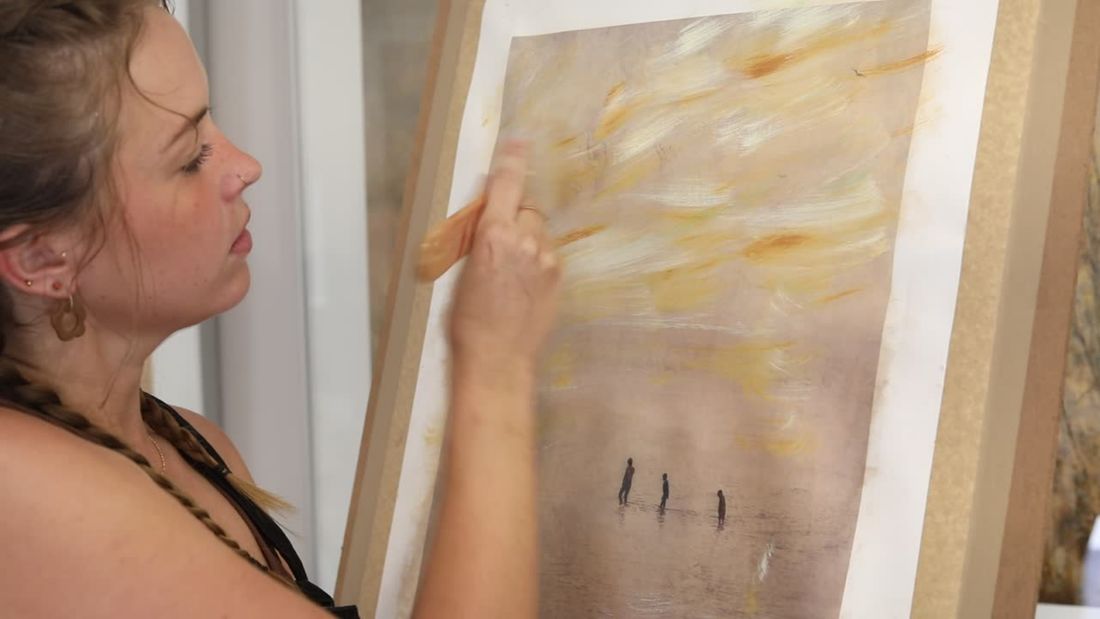
Samantha Lee Osner working on a print in her studio
Samantha in her own studio. She teaches this course as a working artist rather than as a software trainer, which is the whole reason it is built the way it is.

Afterwards

It goes into your library and it stays there

Every course you take sits in your own library, labelled properly, so when you come back in eight months having forgotten how a nitro transfer is prepared for print, you find that one lesson in a few seconds and watch it again.

That turns out to matter more than anything else about it. This is not only a place to learn Photoshop, it is the place you go back to. A reference shelf for the digital half of your practice.

Before you decide

Who it is for, and who it is not

This is for you if

Photoshop frightens you

You know you should be processing your own work and you have been avoiding it. You want to understand what you are doing rather than follow somebody else's recipe. You want the digital half of the art techniques to stop being the hard part.

This is not for you if

You are already comfortable in it

If you have a solid grasp of processing and development you will find the first half too basic, and we would rather say so now than take your money. More advanced and specialised courses are planned.

One exception worth naming. If you are a photographer who wants to move into an artistic space and intends to do it mainly through Photoshop, these techniques and the small hacks behind them will serve you well. You simply have to come at it with the right mindset, because the point is never the tool.

Joining

Photoshop for the Artist

$490

One payment, and it stays yours

  • Twenty two short lessons across four modules, with three more being recorded now
  • Adobe Bridge, Camera Raw and Photoshop, from the beginning
  • The artistic techniques that serve the art photography courses
  • Watch at your own pace, and go back to any lesson
  • Three months of the Inspire Community, included
  • Mac or PC
Let me get started

Three months of the Inspire Community

Included with the course. Somewhere to put a piece up while you are still working on it and get told honestly what is and is not working, which is exactly what you want while a new technique is still unfamiliar.

See what the Inspire Community is

What you will need

The Photographer's package from Adobe Creative Cloud, which includes Photoshop, Adobe Camera Raw and Adobe Bridge. Nothing else, and no plug ins.

Adobe charge separately for that, and it is not included here.

Afterwards, if you want it

An hour with Samantha, one to one

Some people finish the course and then want to take one of the techniques further than a lesson can go, on a piece of their own. Samantha takes a small number of private Photoshop lessons each week, online, one to one, working on your images and on where you want to take them.

Lesley and Mark, quoted further up this page, both worked with her this way.

$190 an hour

Email Samantha directly

Write to samanthaosnerphotography@gmail.com and she will come back to you with times.

Our advice

Take the course first, and you may never need an hour at all

Most people do this course and never book a private lesson, which is exactly as it should be. A few find one small thing that will not come right and clear it up in an hour at the end.

More often than either, somebody comes back to Samantha later with a piece of their own, made with a technique from the course that they have taken to, and asks her to help them push it further and make it properly theirs. That is what an hour is best spent on.

Twenty two lessons, $490. An hour of her time, $190.

Before you ask

The questions we usually get

Who is this course for?+

Anybody who finds Photoshop intimidating. It is built for people who need the basic, fundamental knowledge to develop and process their own images, and who want to understand what they are doing rather than follow a recipe.

Who will not get anything out of it?+

Anybody already comfortable in Photoshop with a solid grasp of processing. We would rather say so now than take your money. More advanced and specialised courses are planned.

What software do I need?+

The Photographer’s package from Adobe Creative Cloud, which gives you Adobe Camera Raw, Photoshop and Adobe Bridge.

Can I use something other than Photoshop?+

Other editors share some of the features, but the course is built around Adobe Bridge, Camera Raw and Photoshop, and following along in anything else will be hard work.

Mac or PC?+

Either. The Adobe applications run on both and the lessons apply to both.

What sort of computer do I need?+

Adobe’s own minimum requirements are modest. For comfort rather than the bare minimum, a reasonably quick processor, plenty of memory and room on the drive.

Is it for beginners or for people with some experience?+

Both. It starts at the beginning for anybody new to Photoshop, and carries on into techniques that will be new even to people who have used it for years.

Photoshop for the Artist, taught by a photographic artist

Twenty two short lessons, taught by somebody who does this work every day, built around the techniques you are already learning by hand. Three more are being recorded now, and they arrive in your library at no extra cost.

Let me get started

$490, one payment.