
 5 min
5 min
“I recently started selling. From the techniques I learned in the course, which I was not expecting to do.”
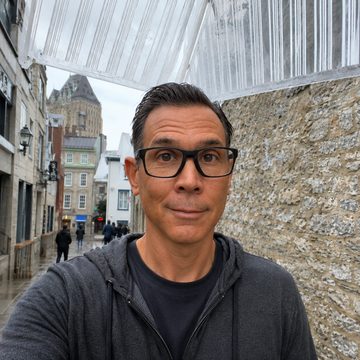
Found Martin on YouTube. Had no portfolio. Now selling work.
Step one, and where everybody here begins
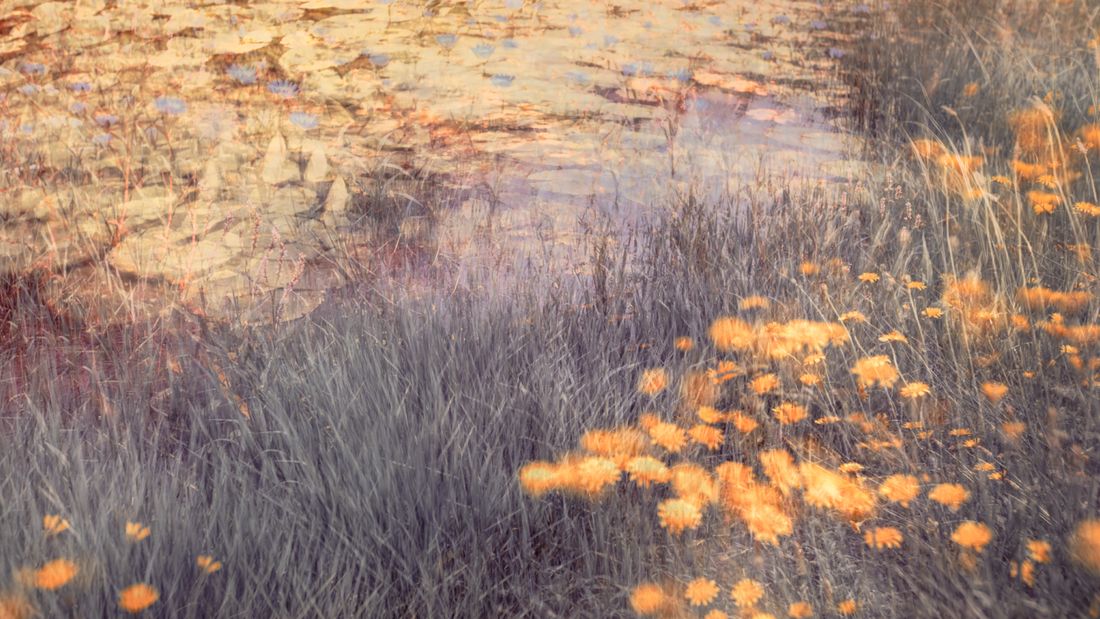
Eight weeks of learning how to physically create interesting artwork, from painting straight onto a photograph to lifting and transferring an image using different mediums. The camera becomes one of the tools on the workbench of art, weaving in and out of the process along the way.
$690 · eight weeks if you follow the programme, or carry on at your own pace for as long as you need · five months complimentary access in the Inspire Community included
This is the first of four courses. See where the path goesWho is this creative journey for
You can already take a good photograph. What you cannot do yet is create a photograph that stops somebody dead in their tracks, an interesting photograph with emotive depth. This course is the bridge, and it does not matter whether you have ever held a paintbrush in your hands.
Right for you if
You know your camera. Your pictures are correct. You want them to say something, and nobody has ever shown you how.
Also right if
Plenty of students come from painting rather than photography. The techniques here belong to both worlds.
Not for you if
You will be told the truth about your work, kindly and honestly. If that is not what you are after, this is the wrong place and we would rather say so now.
Where this leads
Everybody starts here. The techniques are taught one at a time and each one builds on the last, which is why the courses run in order rather than as a menu you pick from.
Step one
An introduction to the hand techniques. Painting, transfers, solarisation, powder and montage. Where everybody here begins, and where a great many people happily stay.
Available now
Step two
Eight advanced techniques built around abstraction. Paint fused into glass, images broken apart, a lens you make yourself. This course is for photographic artists who want to add a strong artistic layer to their work.
Available now
Step three
Where art photography becomes fine art photography, and the work stops being decorative and starts being emotive.
Being recorded now
Step four
The ultimate point on the path, for photographers building a body of work rather than a collection of pictures, and for those wanting to exhibit as a professional artist.
Being released in 2027
A word of honesty about this. A great many people do this first course, love it, and stop, and that is a perfectly good place to end up. You will have a technique you can use for the rest of your life. The people who carry on tend to be the ones who find that abstraction has got hold of them, and later that they want their work to move somebody rather than decorate a wall. Art photography is largely decorative. Fine art photography is emotive. The last two courses are where that turn happens, and they are being recorded now.
What you will actually be creating
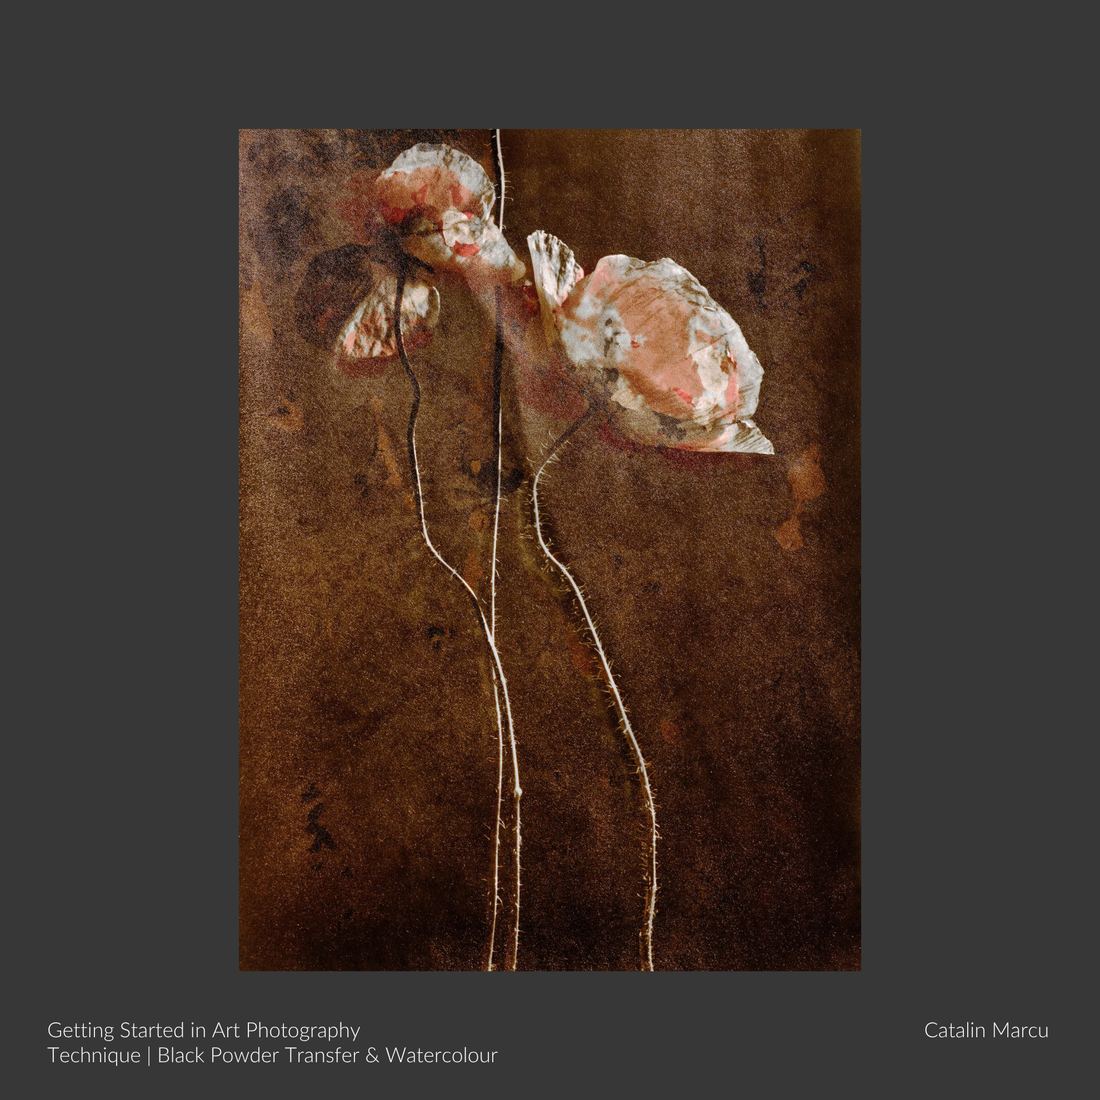
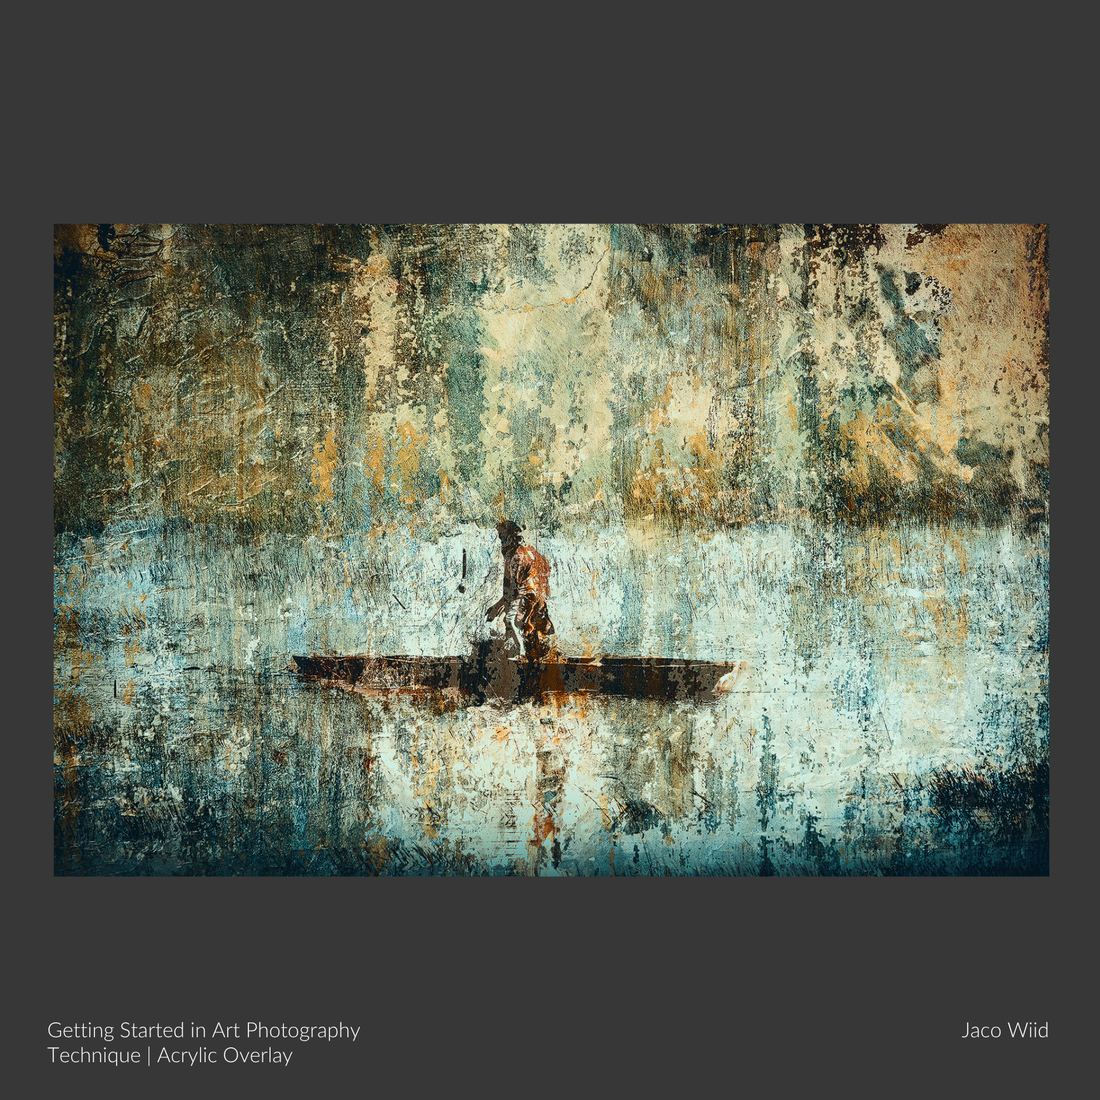
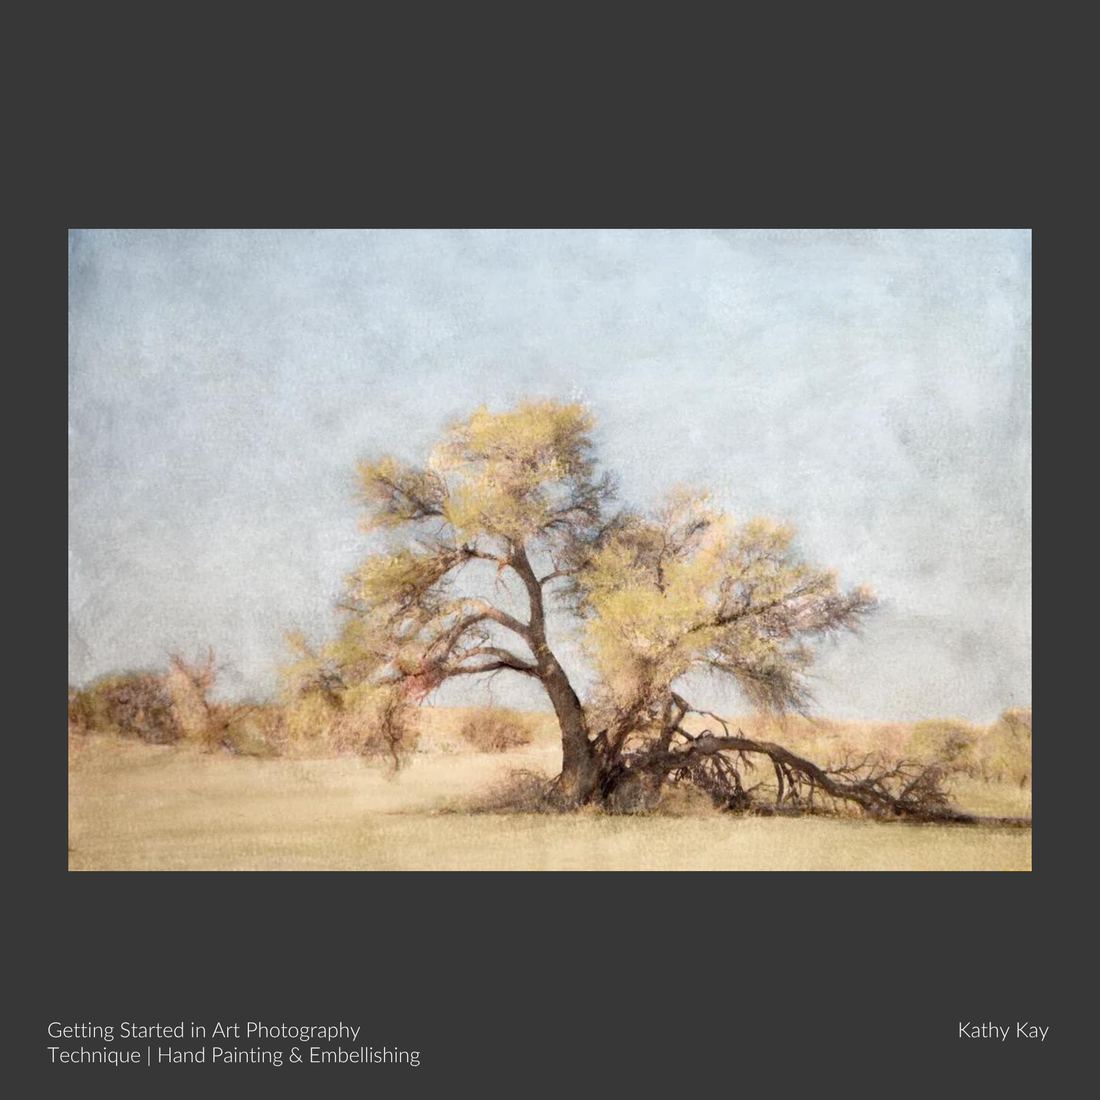
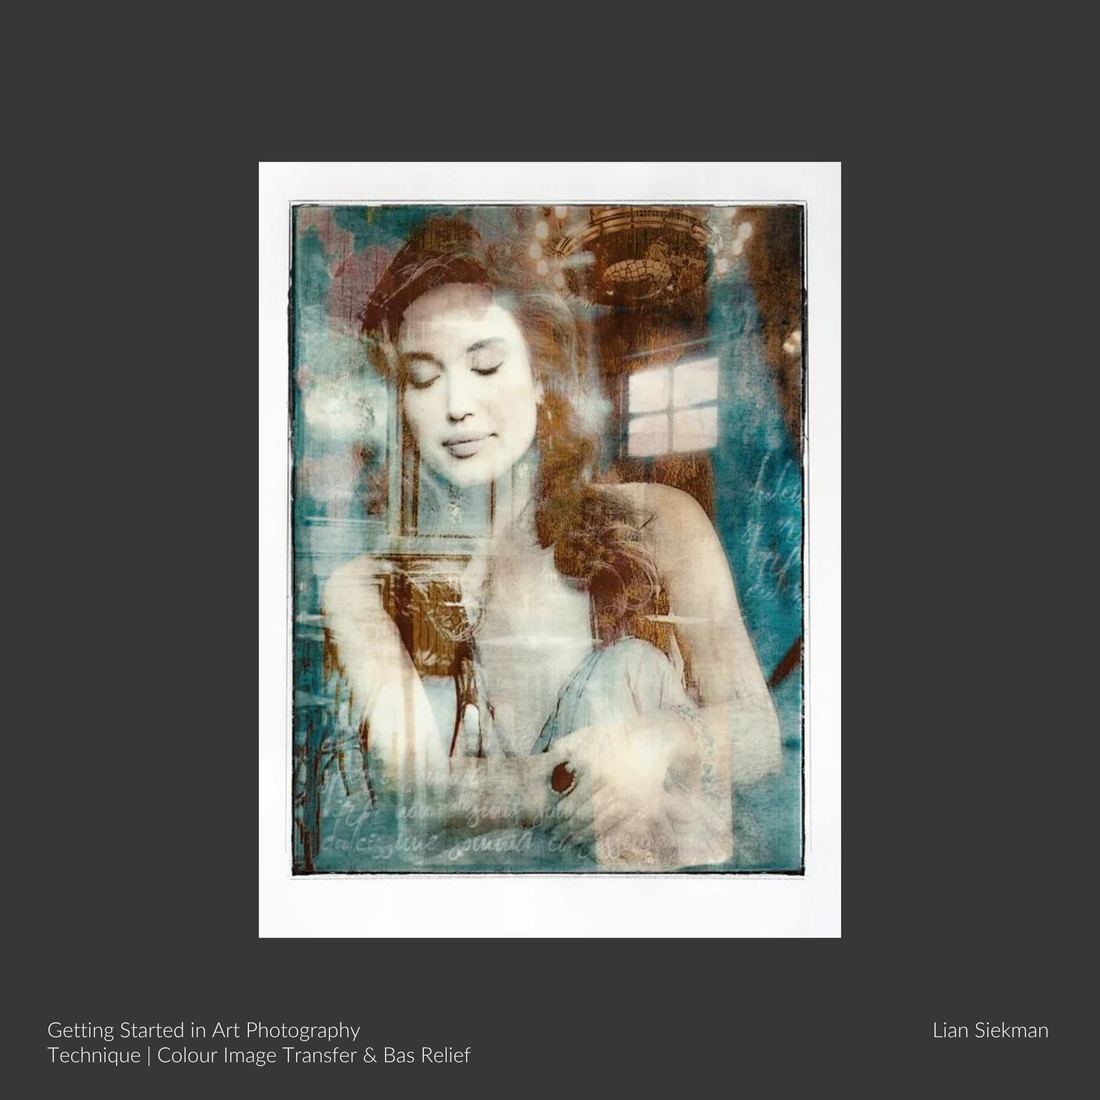
Each one of these was created by a student on this very course. Click on them and have a closer look at the transformation process.
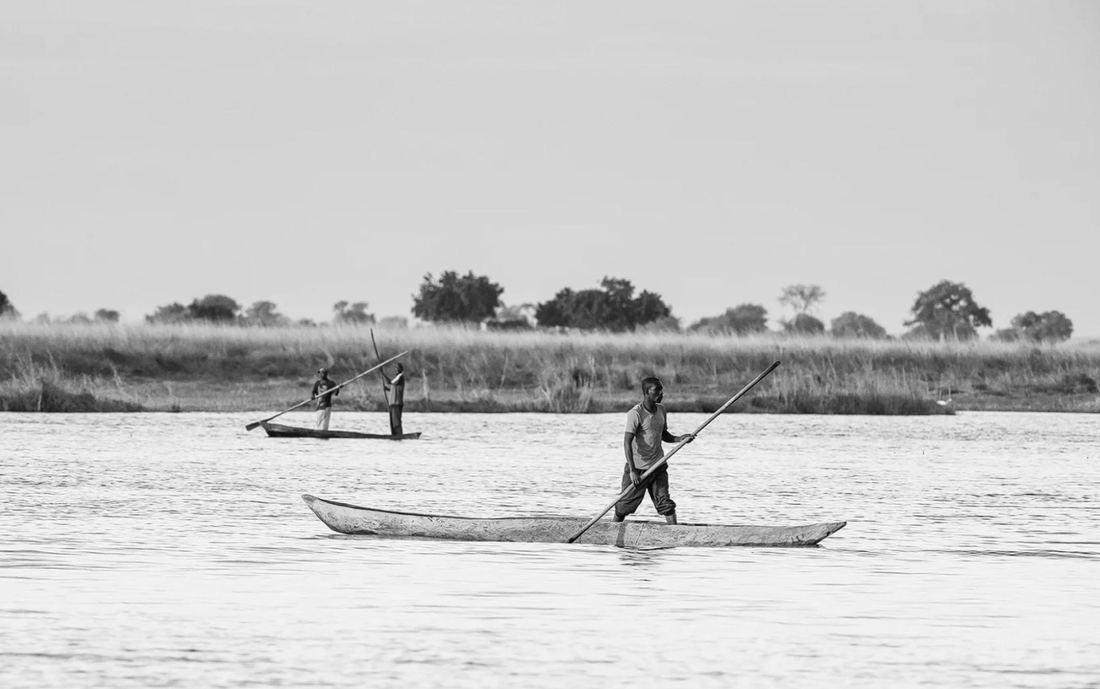 Before
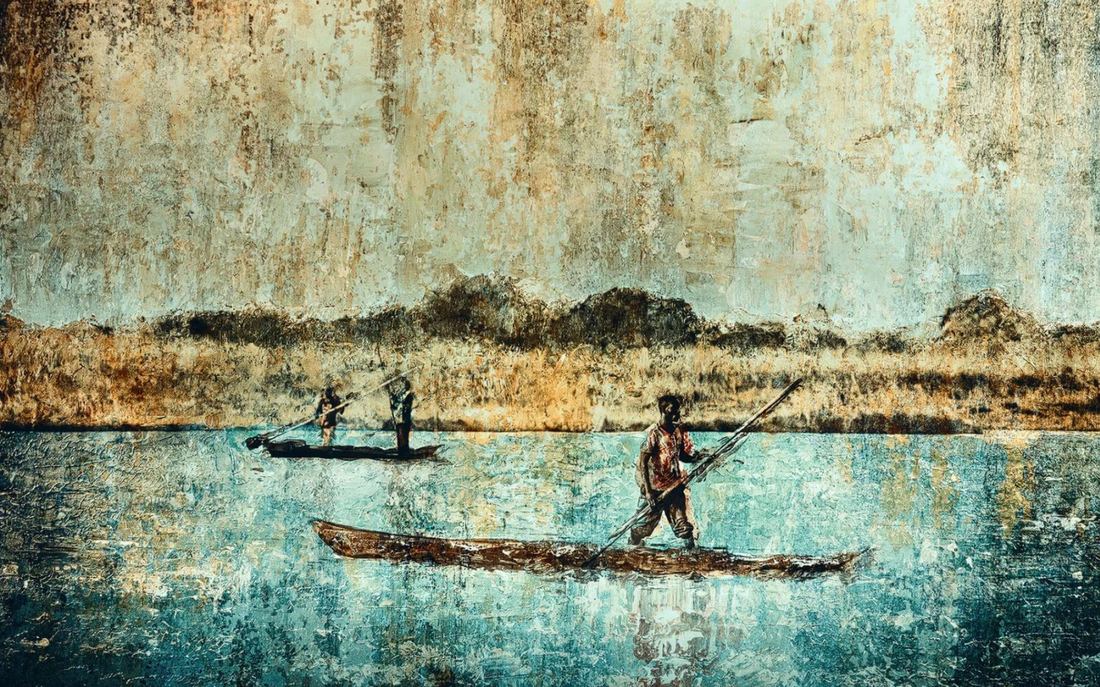 After
After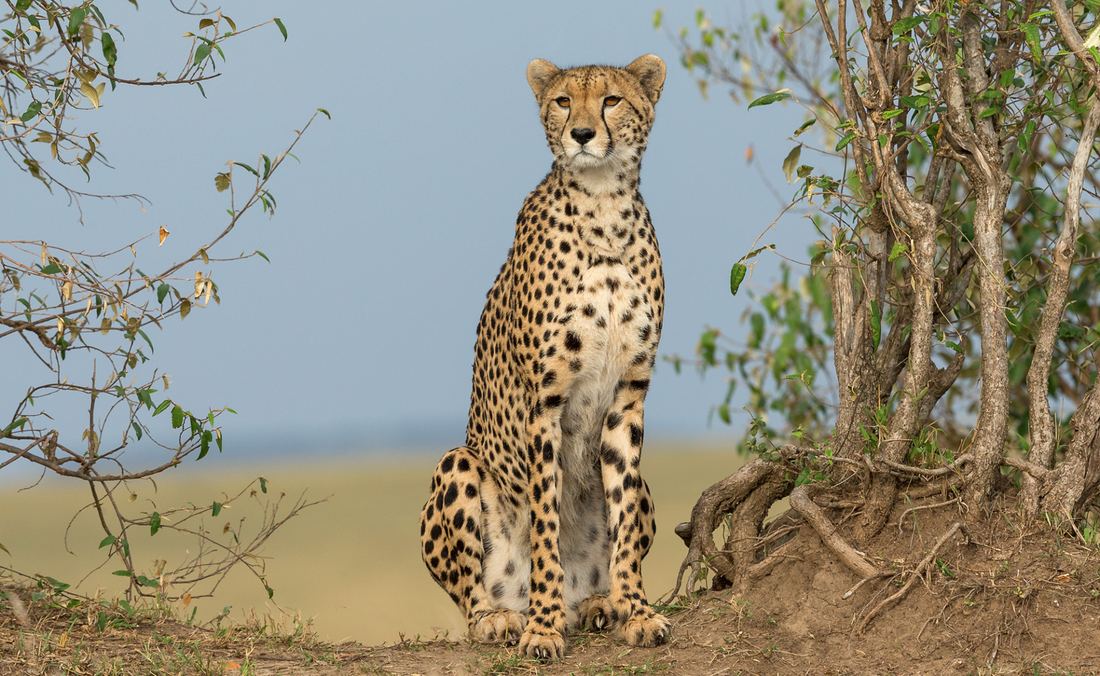 Before
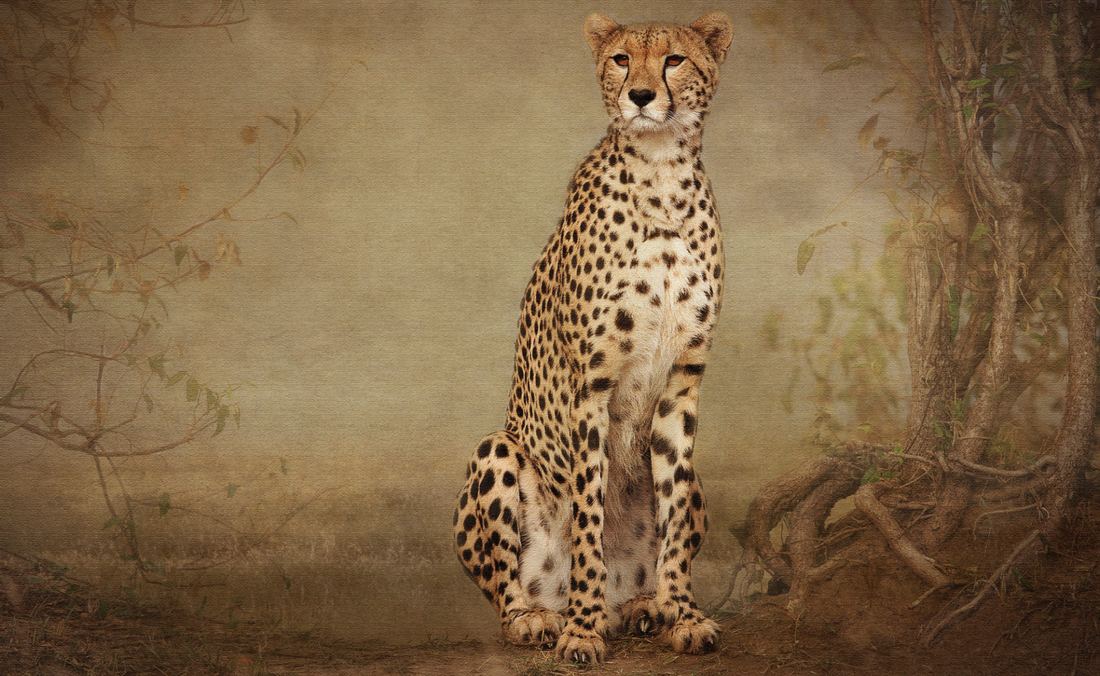 After
After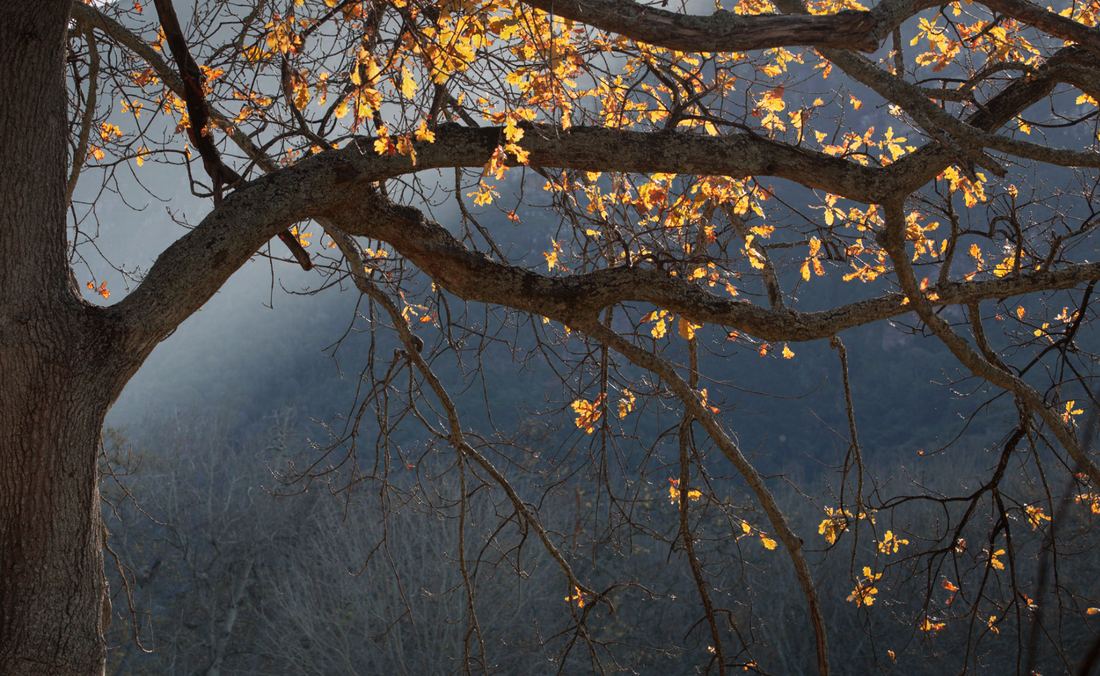 Before
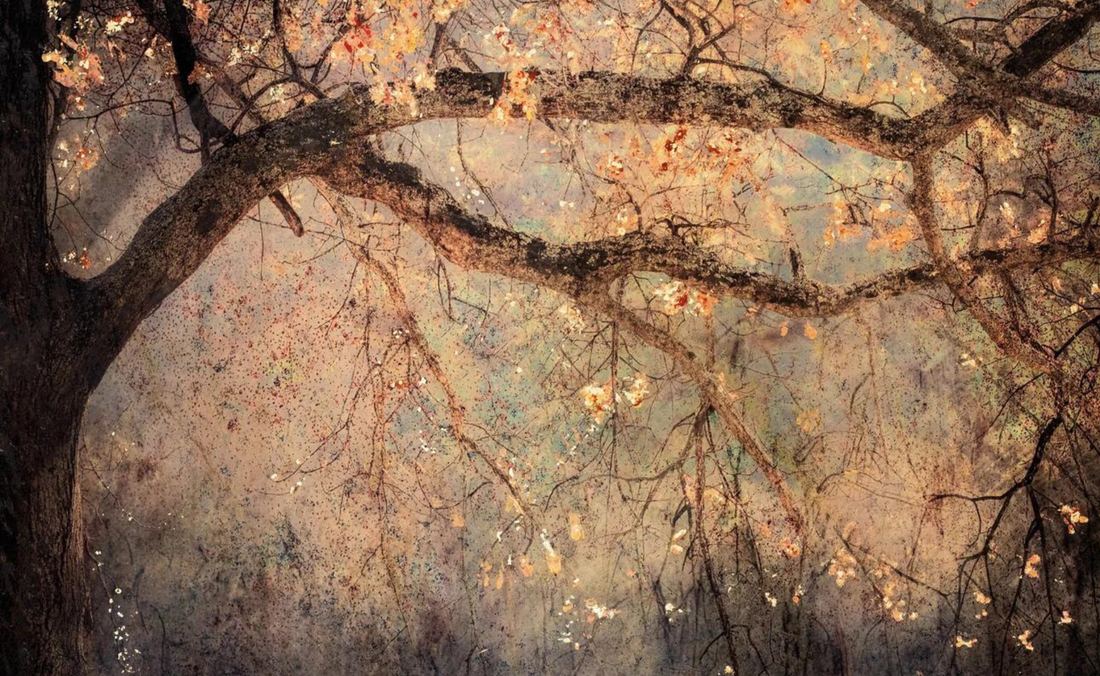 After
AfterPaint, solvent, powder, wax and paper
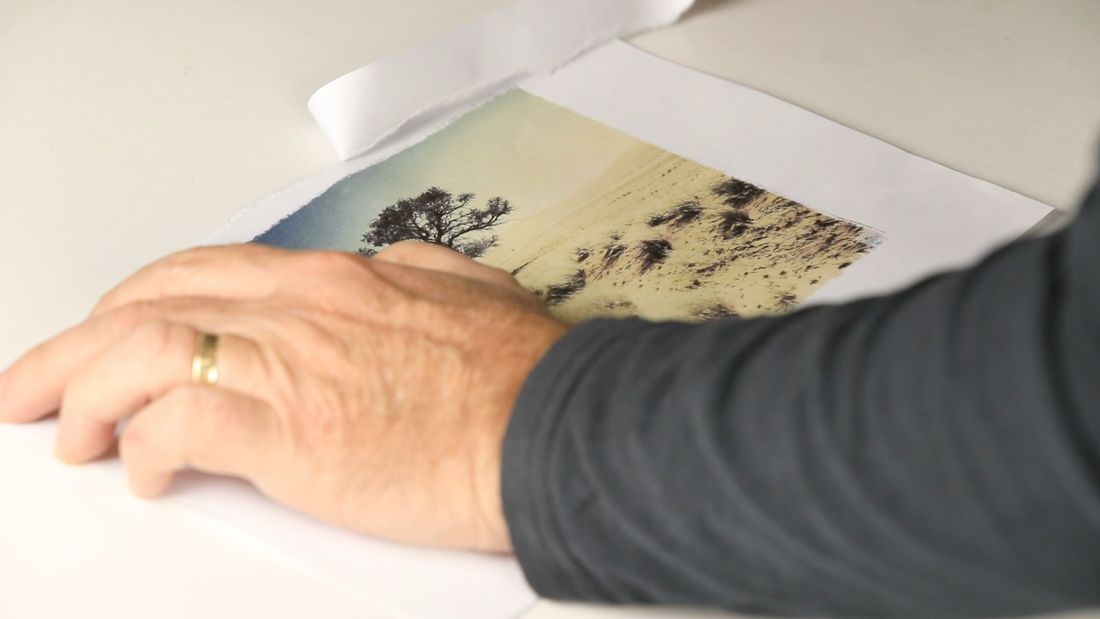
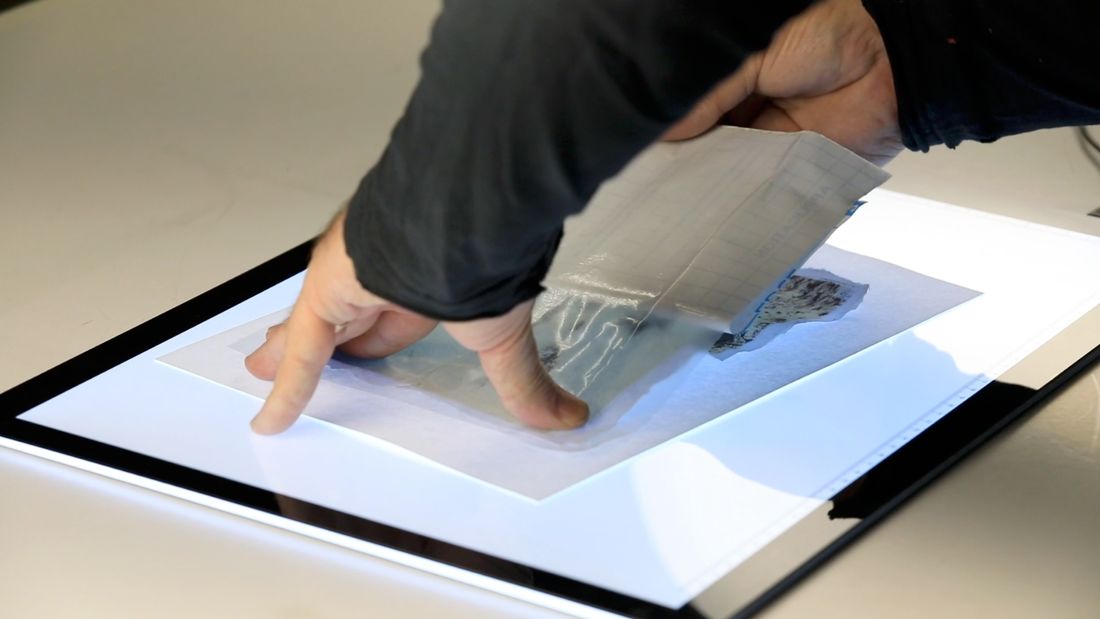
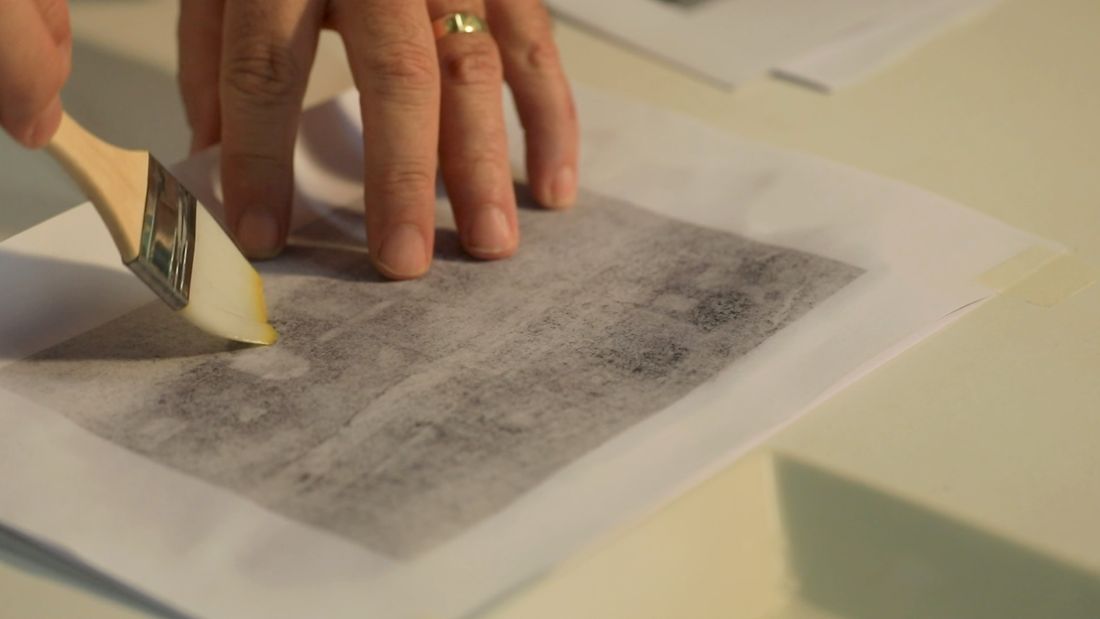
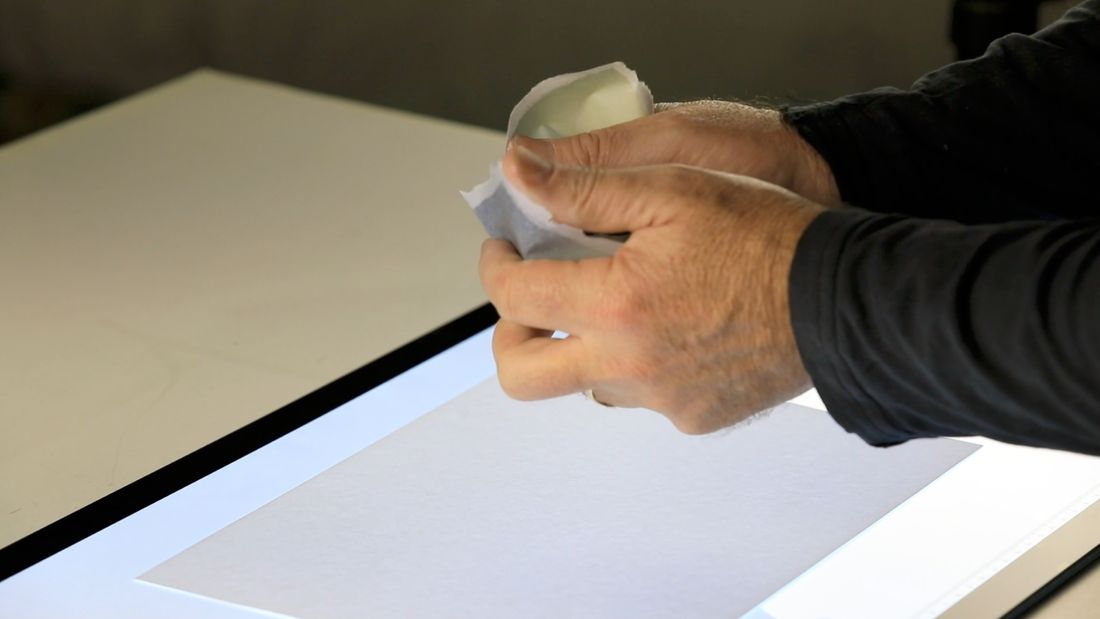
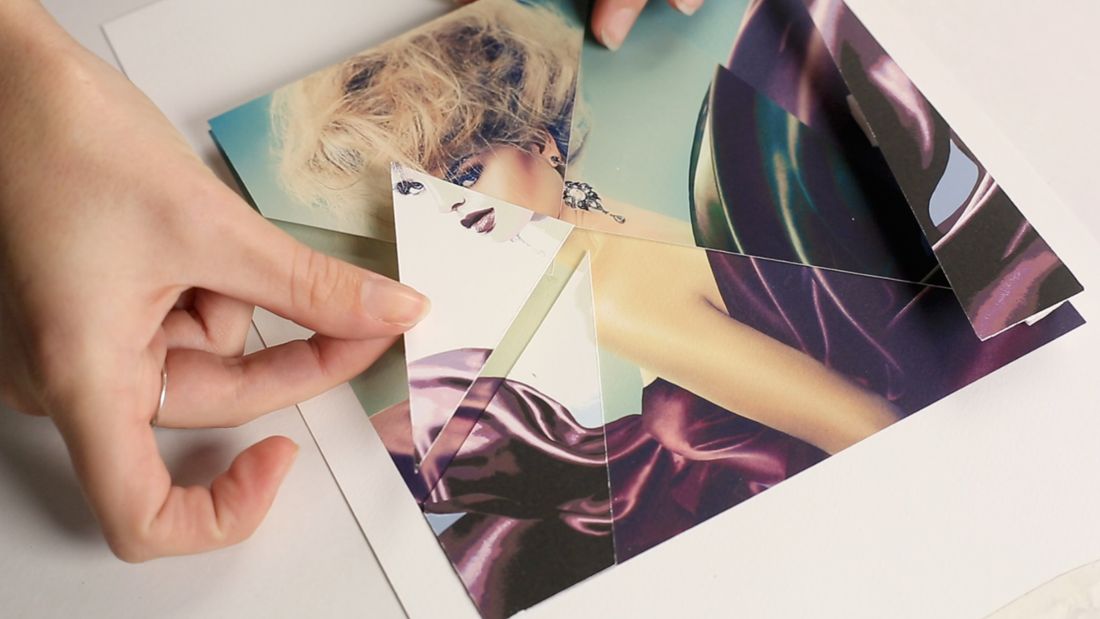
There is no Photoshop filter or AI equivalent for this. This sort of art is done by hand, on a creative workbench, and it is why the results do not look like anybody else's. Photographic artwork that carries your signature.
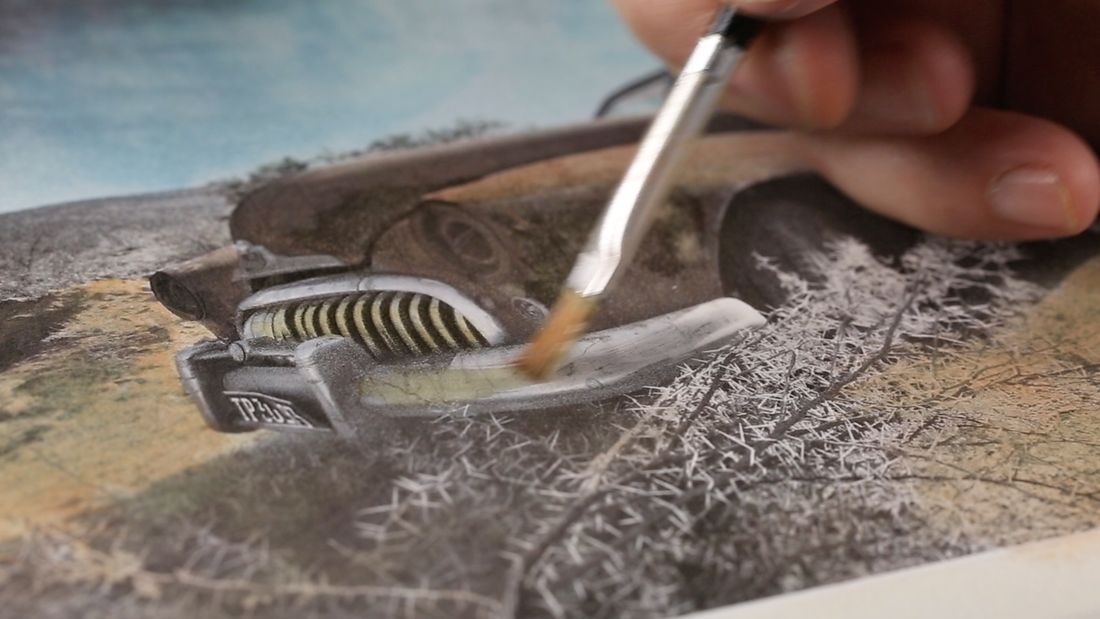
Week by week
One module delivered each week, so you have time to enjoy each technique without pressure. Eight weeks if you have the time, or carry on at your own pace, as every module stays in your library afterwards for good.
What you will need, where to get it, and how to set up a working space. Nothing exotic, and nothing expensive to begin with.
Adding paint directly to a photograph, and the digital equivalent when you want the control. This is the lesson most people fall in love with.
How to photograph your own finished pieces properly, then acrylic medium and impressionistic treatments.
A darkroom effect brought forward, and how to control it rather than leave it to chance.
Lifting an image with solvent and light. The texture you get from this cannot be faked with a filter.
The colour version of the transfer, and raising the surface so the picture has physical depth.
Sweeping powder into an image by hand. Smoky, unpredictable, and completely yours.
Cutting, arranging and combining. The lesson that pulls everything before it together.
Meet your instructors
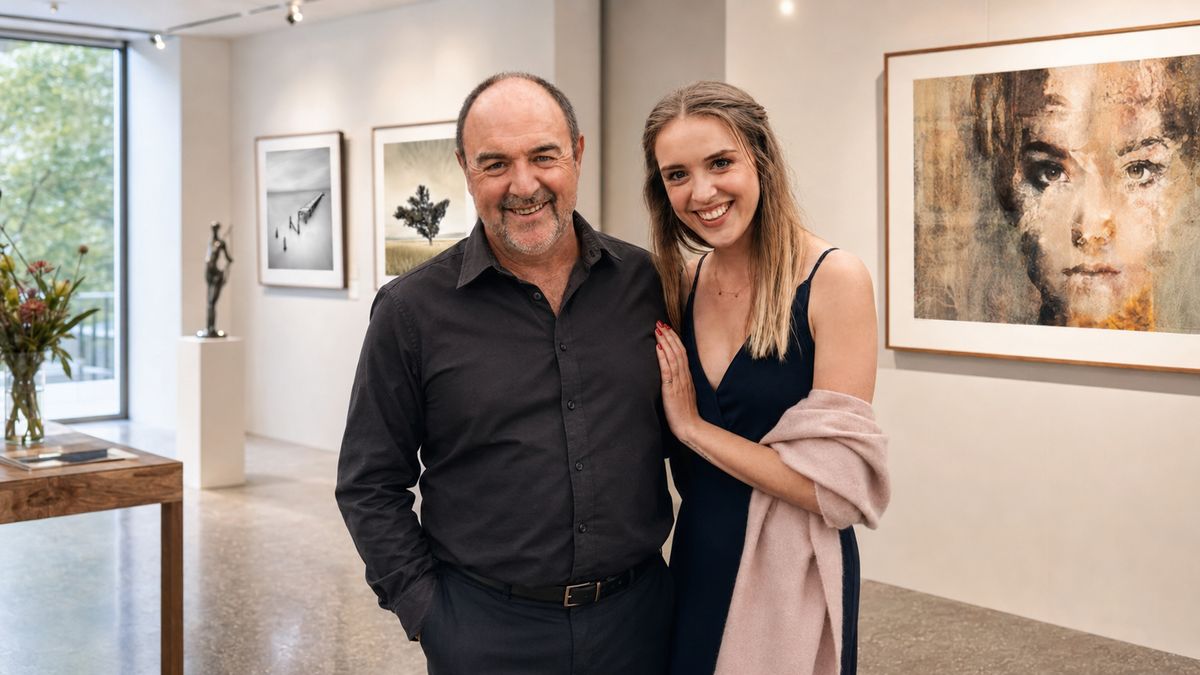
Thirty five years of teaching, twenty five as a fine art photographer, and a gallery of his own with his work on the walls. He teaches this course alongside his daughter Samantha, who came through his own courses and in a very short time has become an established artist in her own right.
The techniques in this course are his own, developed over many years, and he gives them away completely. As Tara Crossley put it, he does not mind telling you everything.
Watch Tara's full interviewReal people, real journeys, real artistic growth
Both of these students started right here, on this course, and have now gone right up to Masterclass level. Watch their interviews without leaving the page.
5 min
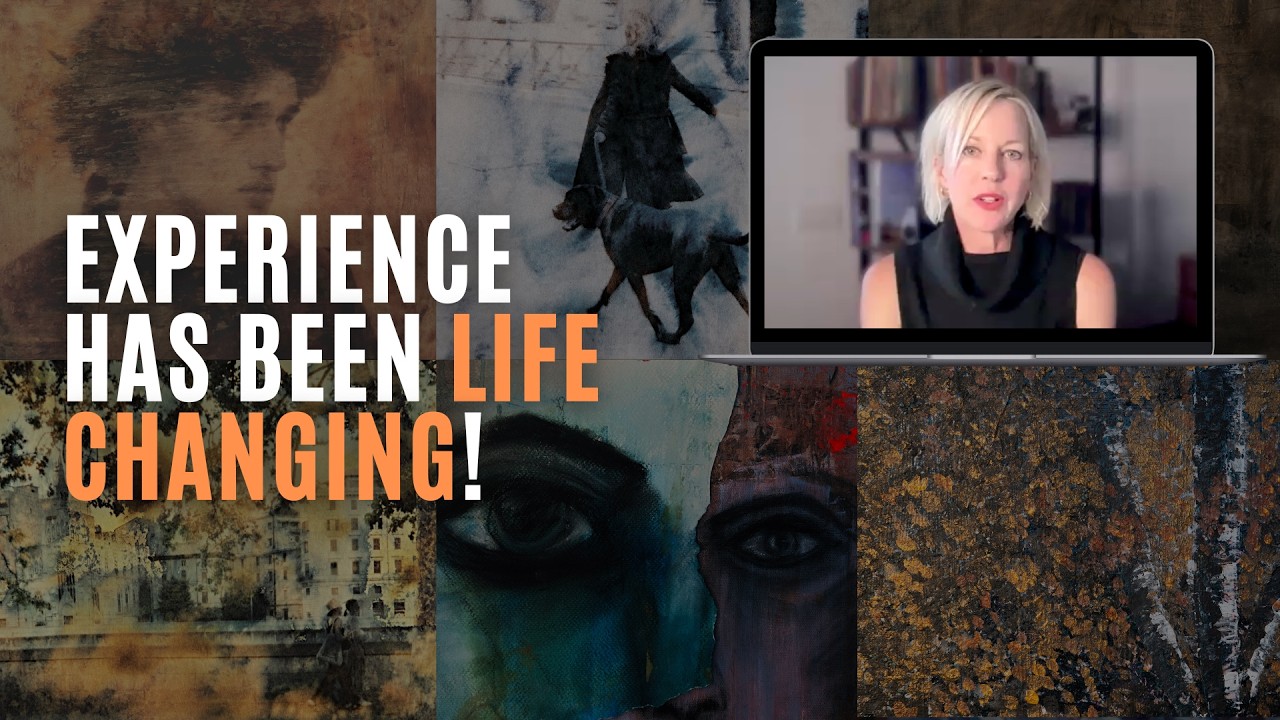
“I recently started selling. From the techniques I learned in the course, which I was not expecting to do.”
Found Martin on YouTube. Had no portfolio. Now selling work.
 9 min
9 min
“Maybe the most surprising thing was that I can do it too. That I can make beautiful art as well.”
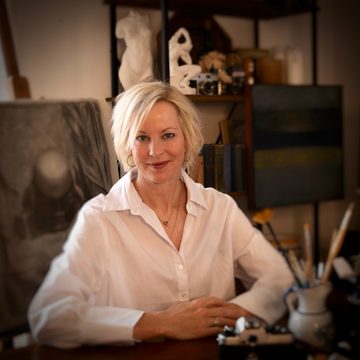
Lost her creativity over the years, and got it back.
Student showcase
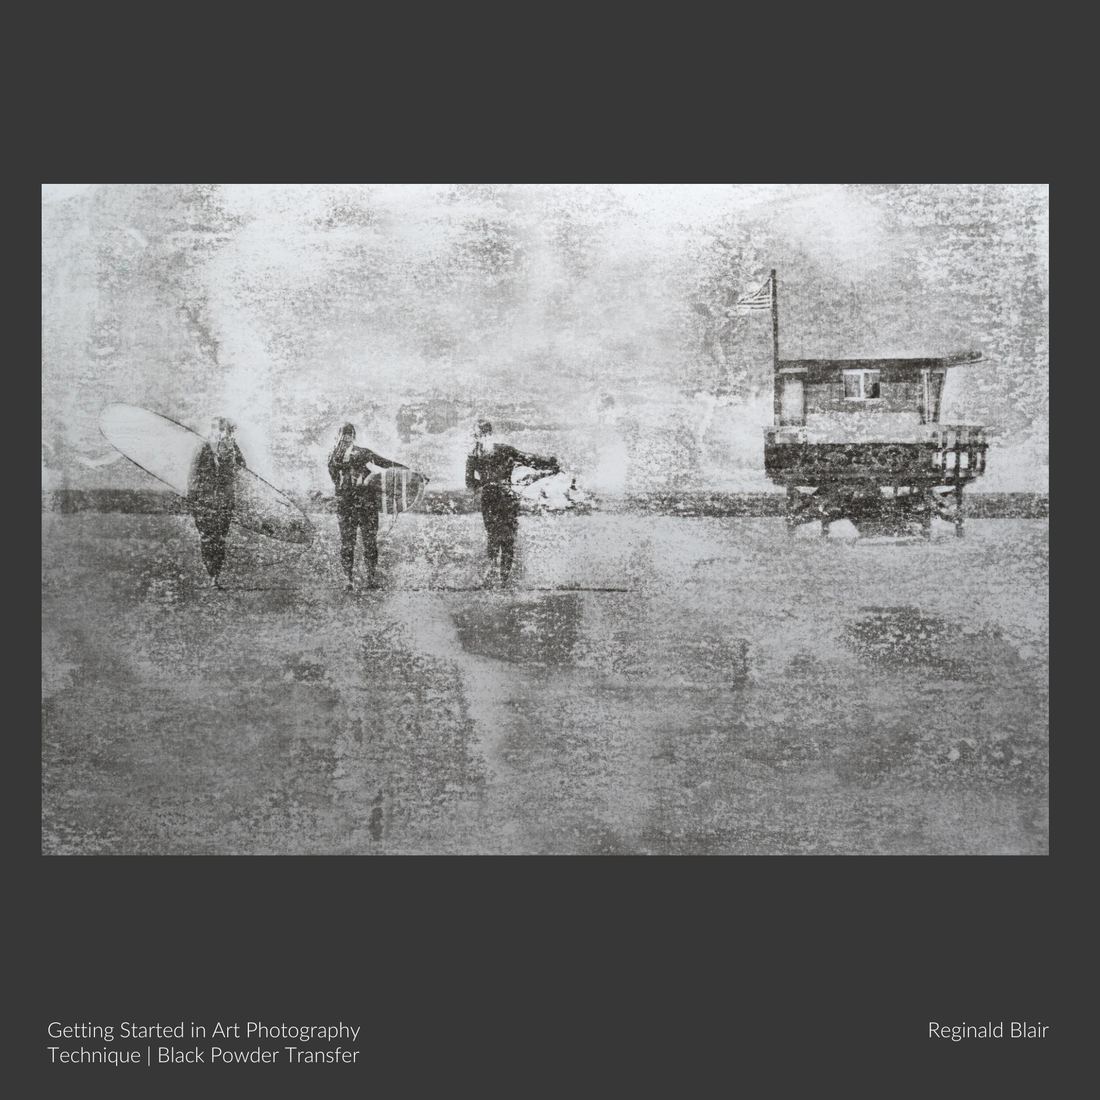
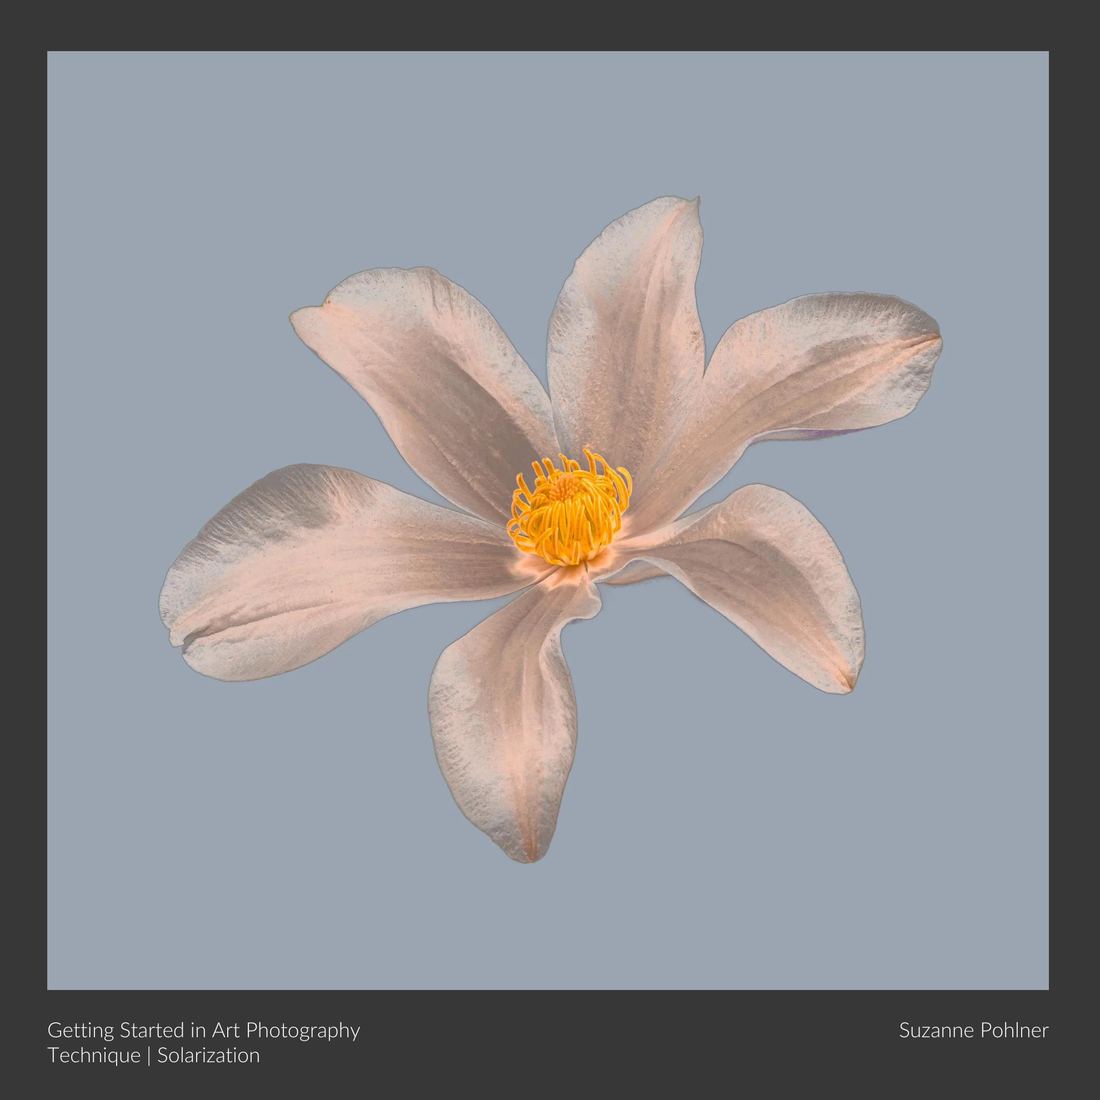
Meet some of Martin and Samantha's students. Click on a picture to see the details and the technique used, then move through them with the arrows. Seeing is believing.
Before you begin
Would you like the whole list before you decide?
We have written the full equipment and supplies list out properly, with what to buy, where to find it and what can wait until later. Put your name in and we will send it over.
No spam. Unsubscribe any time.
Common questions
Yes, and it is not a sales tactic. Each technique assumes the ones before it, so Going Further genuinely does not work if you have not done this first. Start here and you will be on solid ground.
Going Further in Art Photography, which is eight techniques built around abstraction. After that there are two more coming, Next Level Fine Art Photography, being recorded now, and Advanced Fine Art Photography, which is being released in 2027. That said, plenty of people finish this course and stop, quite happily, and there is nothing wrong with that.
Art photography is largely decorative, work that is beautiful to live with. Fine art photography is emotive, work that is trying to say something and move somebody. This course and Going Further are the first. The two courses coming next are where the second begins.
Very little. The course assumes a working camera and a willingness to use it. If you are an artist coming to photography with no photographic background at all, take the Essentials Photography course first and then come back.
No. Photoshop is not a prerequisite. Some secondary techniques use it, and those come with beginner tutorials you can take or leave.
Nothing expires. Every module stays in your personal library indefinitely and you work at whatever pace suits your life. Students routinely take longer than eight weeks and it does nobody any harm.
Because you need time to make work between them. The first lesson runs over two weeks, which covers your preparation and your first technique, so there is no rush at the start. After that a new lesson arrives each week. David Schlosser put it better than we could: thank goodness they were not all available at once, because I would have tried everything in one night.
You join a class circle with the people who started when you did, there are Q&A groups, recorded sessions with Martin, and the Inspire Community with the creative advisors in it.
A DSLR or mirrorless camera, or a good bridge camera with full manual mode and RAW. An inkjet printer, a laser printer, a light or tracing table and a couple of lamps. Then paint, art paper and solvents. We send the full list before you begin.
Ready when you are
$690
Eight weeks if you follow the programme · or at your own pace · your library for good
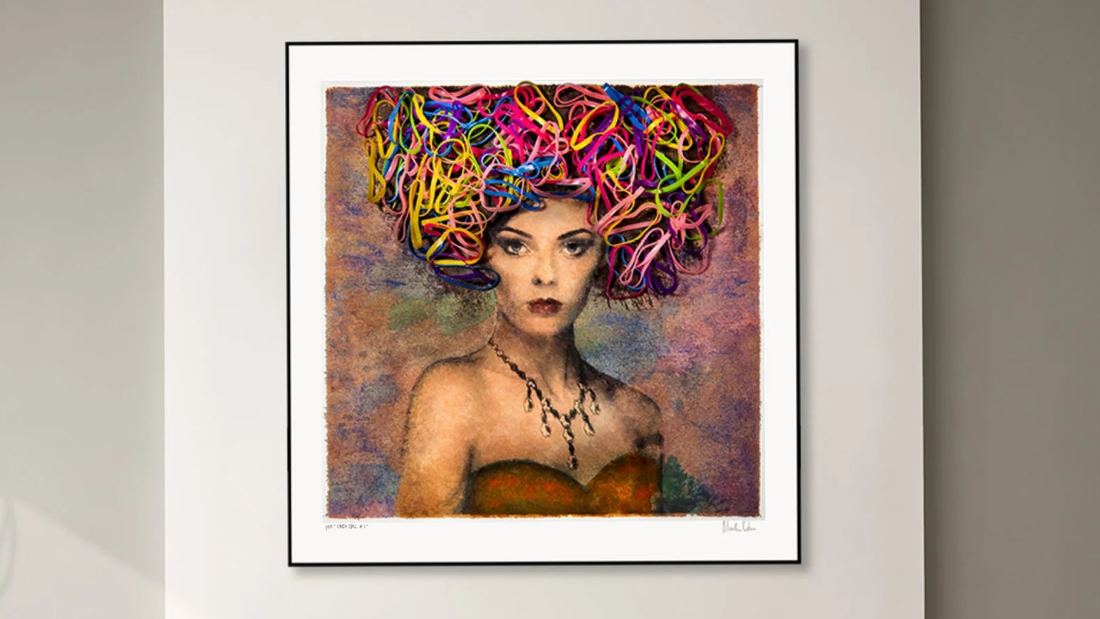
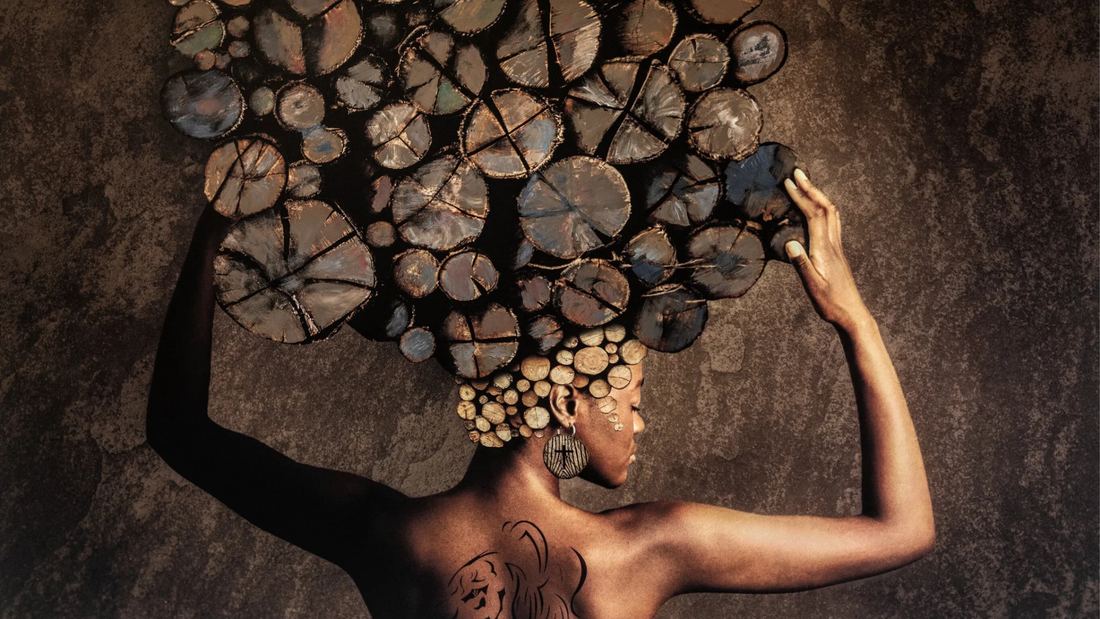
Not sure yet? Watch the free masterclass first, it costs nothing and it will tell you in ten minutes whether this is for you. Or take Refracted Impression, one technique for $39, and we give the $39 back off this course if you go on.
Still deciding?
Only if you are serious about this, please. Martin keeps a few of these slots open each week and they are meant for people genuinely weighing up their next step, not for browsing. If that is you, tell him where you are with your photography and he will tell you honestly whether this course is the right move, or whether something else would serve you better.
Book a fifteen minute call
Get started today before this once in a lifetime opportunity expires.